
There’s a child-like thrill that bubbles up the moment you picture a handcrafted biplane “parking” itself amid tomato vines and basil sprigs. By turning scrap lumber into a show-stopping garden feature, Airplane Wooden Pallet Planters let you fuse playfulness, sustainability, and down-to-earth practicality in one unforgettable weekend project. Every plank you rescue from the waste stream becomes part of a fuselage brimming with herbs, strawberries, or draping flowers; every screw you drive is a vote for creativity over consumerism. This guide hands you the runway checklist—measurements, tool tips, planting advice—so even first-time builders can taxi from pallet pile to flying-high planter without turbulence. Ready to repurpose, reimagine, and watch your backyard take off? Strap in and throttle forward.
1. Touching Down on a Garden Dream: Airplane Wooden Pallet Planters
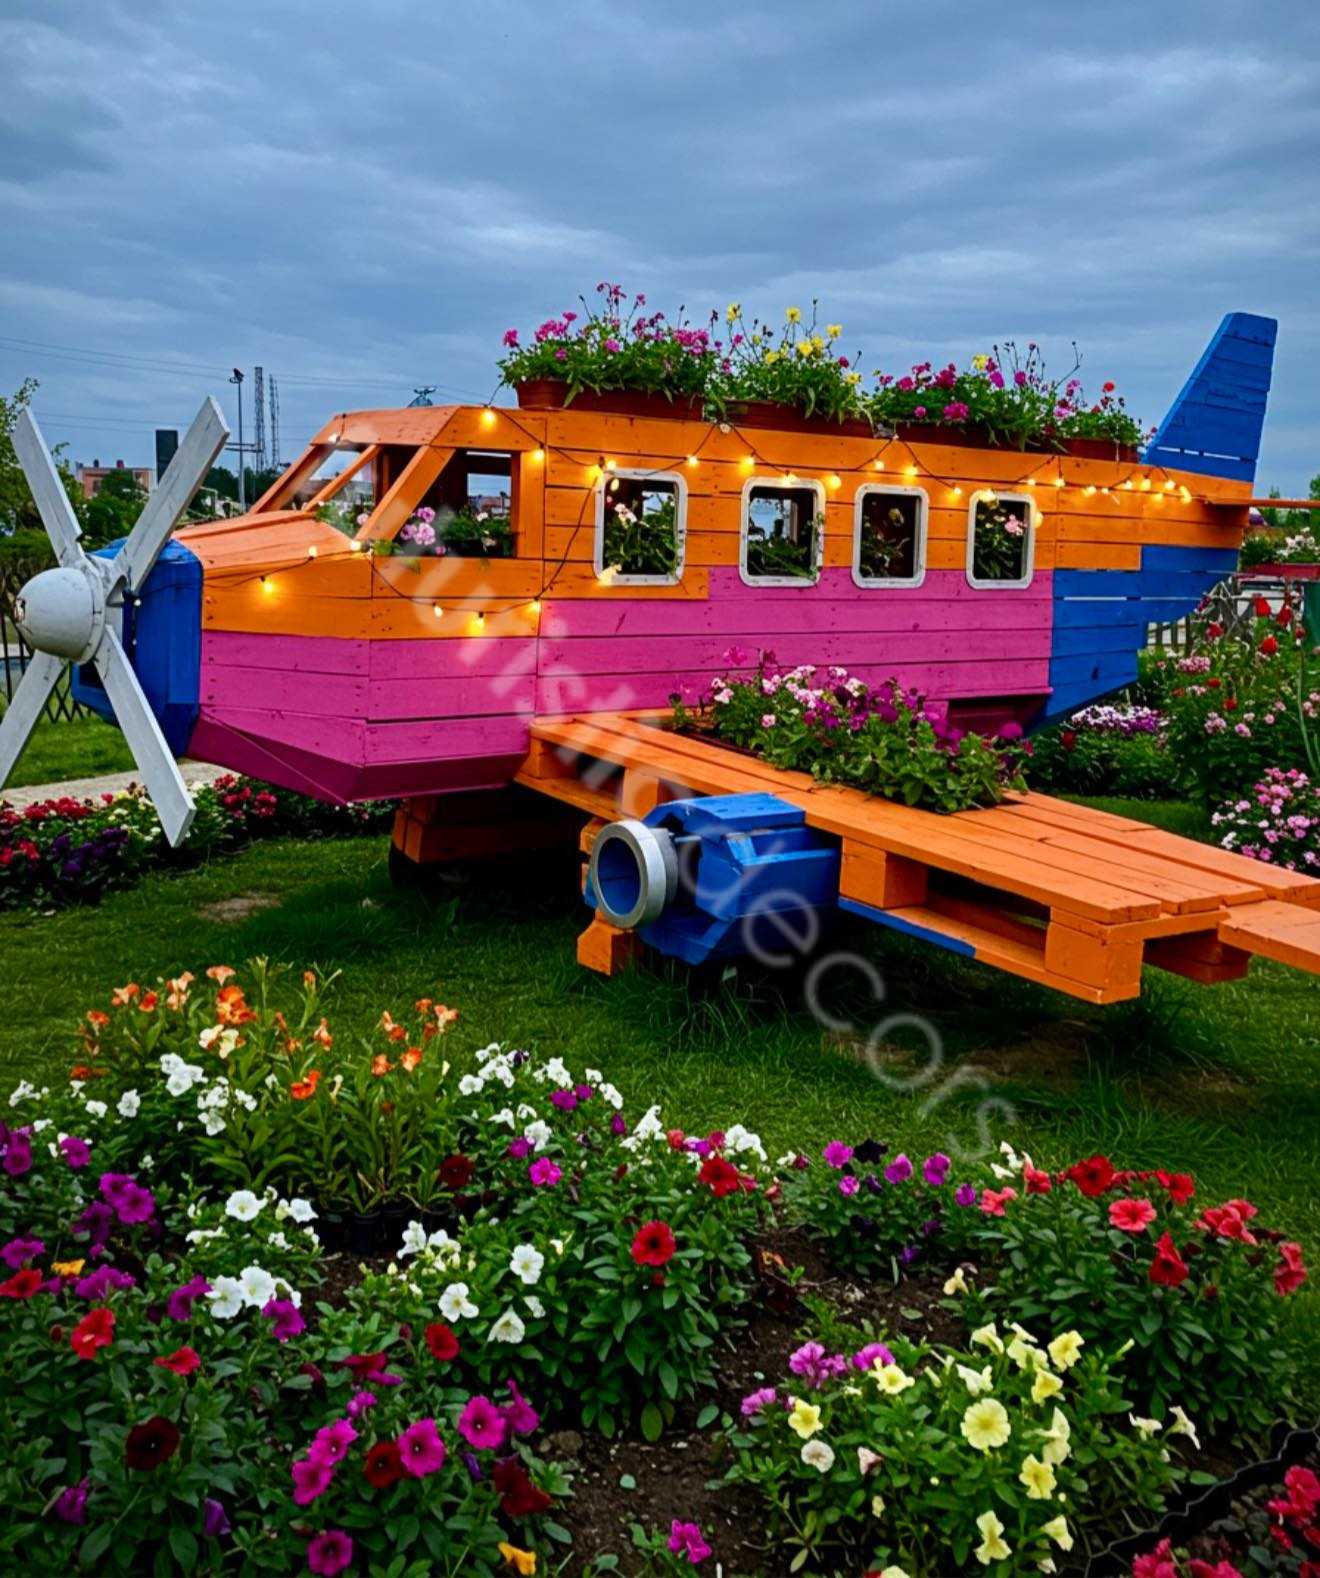
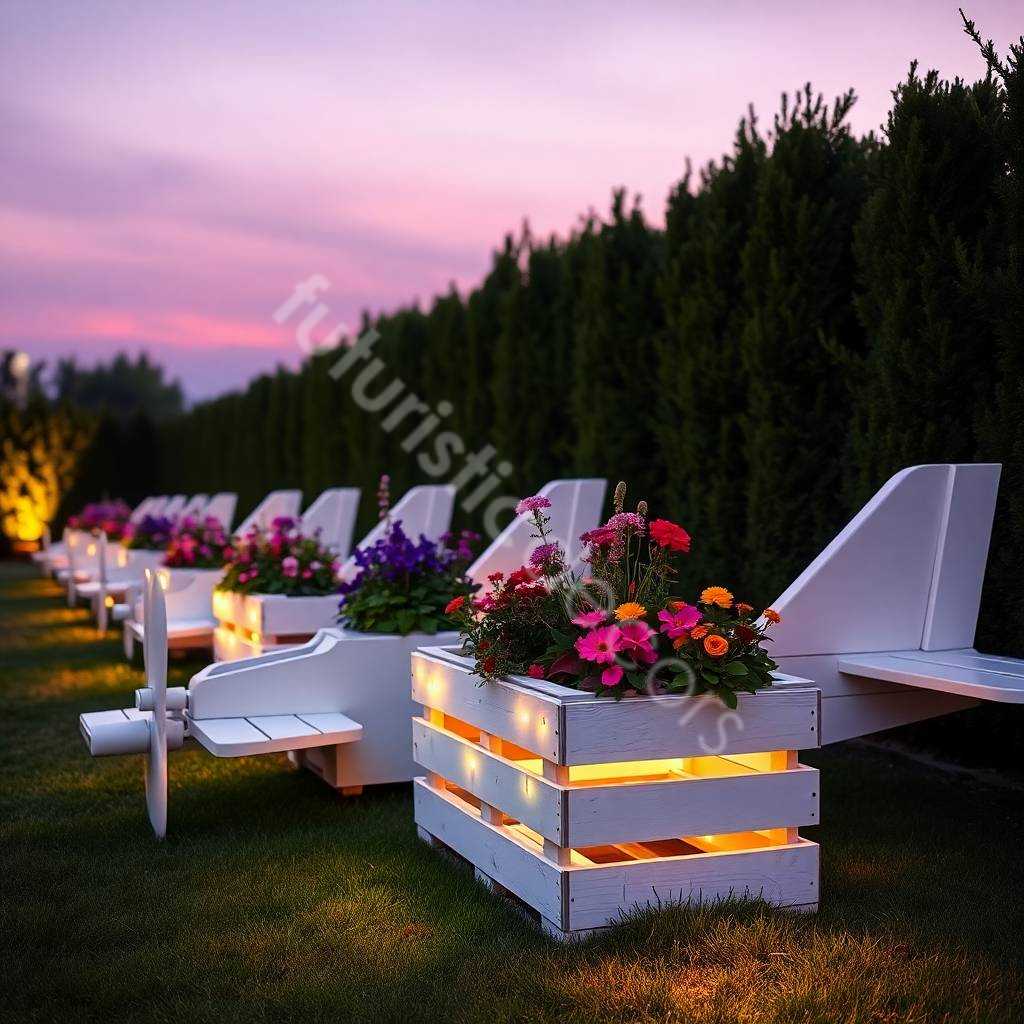
There’s something irresistibly playful about spotting a miniature biplane “parked” among tomato vines or thyme. It invites a smile, sparks conversation, and instantly brands its maker as a fearless do-it-yourself aviator of garden décor. Airplane Wooden Pallet Planters capture that magic by transforming humble throw-away pallets into a soaring focal point—no pilot’s license required.
Picture it: a rustic fuselage overflowing with trailing strawberries, cedar-scented wings supporting bursts of lavender, a propeller that spins lazily in the breeze. Beyond good looks, these planters repurpose lumber that would otherwise be chipped or burned, rescuing as much as 40 kg of timber from landfill in a single build. That means your weekend project is equal parts art, sustainability statement, and plant-loving practicality.
This guide hands you every rivet and rib: measurements, material lists, precise cuts, finishing touches, and imaginative upgrades. Whether you’re a first-time builder armed with a jigsaw and optimism or a seasoned craftsperson chasing a fresh challenge, follow along and taxi down the runway toward your own Airplane Wooden Pallet Planters masterpiece.
2. Why Choose Airplane Wooden Pallet Planters?
2.1 Zero-Waste Chic
Pallet lumber often lands in dumpsters after a single haul. Salvaging it saves mature pine from shredders, extends the life-cycle of each board, and reduces demand for new timber.
2.2 Budget-Friendly Brilliance
A store-bought novelty planter of comparable size can reach three figures. With pallets sourced free or for pennies and hardware kept minimal, your finished aircraft rarely tops the cost of a pizza night.
2.3 Customizable Canvas
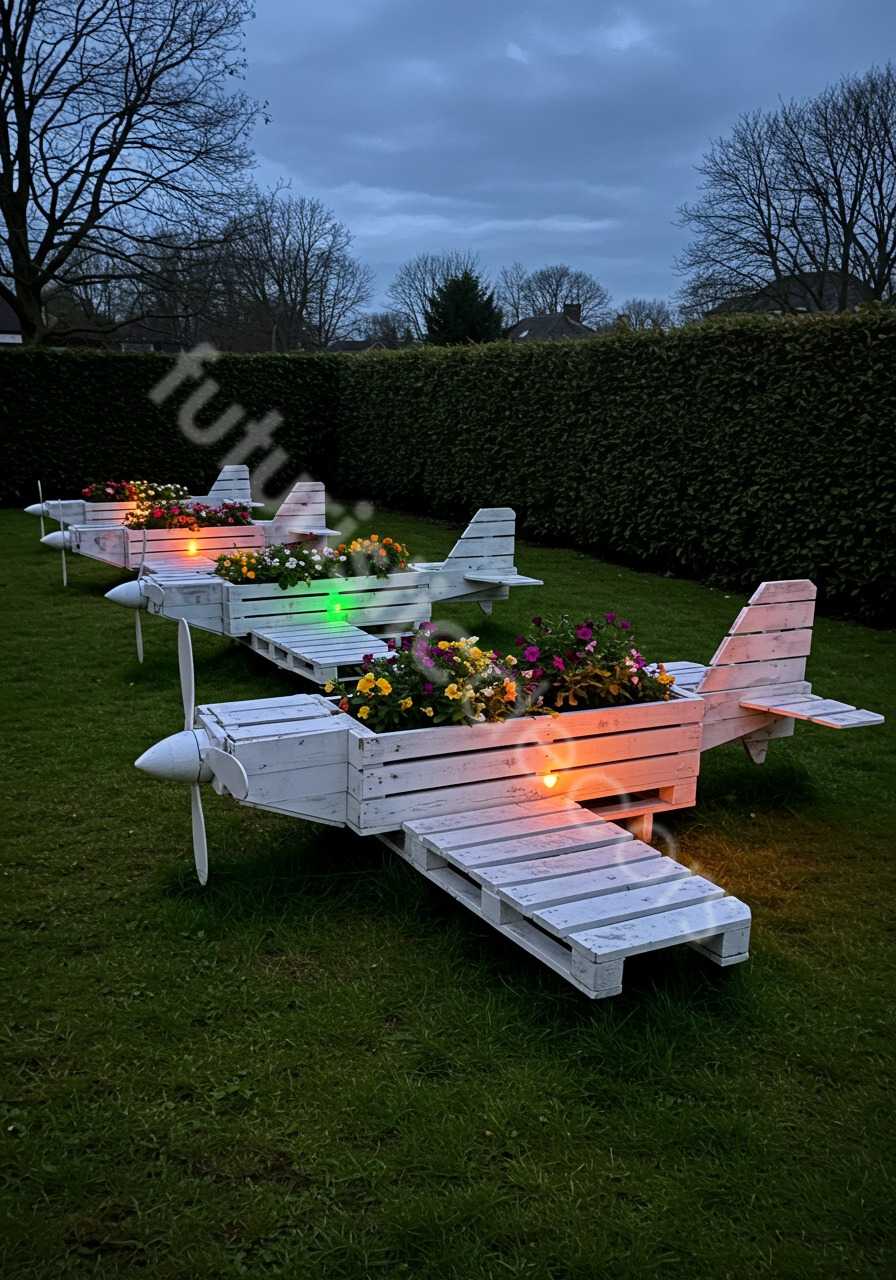
Paint it vintage olive drab, Art-Deco chrome, or candy-striped circus colors. Add stenciled tail numbers, LED running lights, or a whirling tin-can propeller. The frame invites endless creativity.
2.4 Portable Raised Bed Benefits
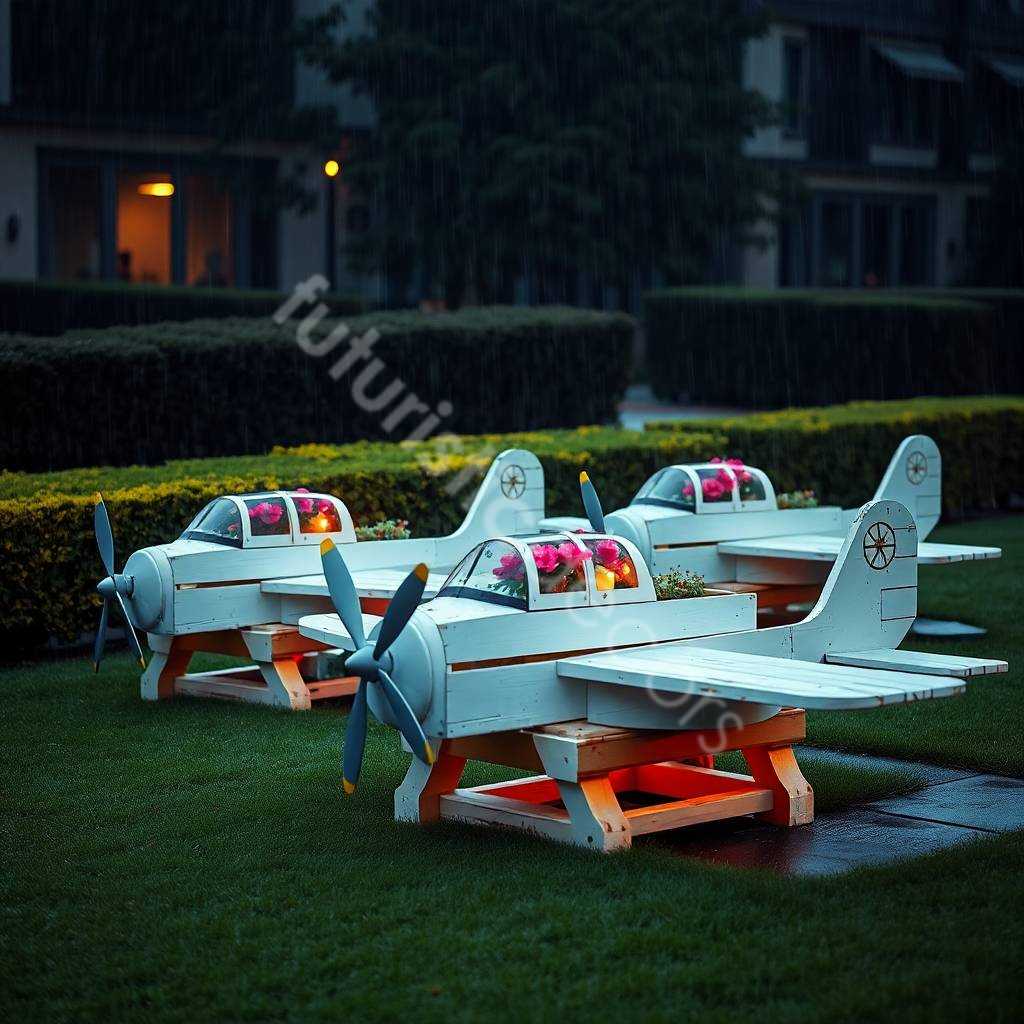
The fuselage acts as an elevated bed, sparing sore backs and protecting herbs from nosy neighborhood pets. Wheels (optional) let you chase sunlight across patios or shelter seedlings from hail.
3. Flight Planning: Sketches, Scale, and Space
Before sawdust flies, open a sketchbook—or the back of an old envelope—and rough out proportions. A beginner-friendly size seats a 90 cm fuselage (main planter box) with 60 cm wingspan. That footprint nestles tidily against fences and under windowsills while offering roughly 35 L of soil capacity—ample for annual flowers or a compact salsa garden.
- Measure Your Runway. Mark the spot the plane will live. Leave 20 cm clearance around wingtips for watering cans and pruning shears.
- Choose Planting Depth. Most herbs root happily in 15–20 cm. Root veggies desire 25 cm.
- Decide on Landing Gear. Fixed wooden “wheels” from pallet offcuts keep the profile low. Upcycled bike rims or locking castors add mobility.
- Select a Pallet Species. Heat-treated (HT) pine and spruce are safe for edibles. Avoid pallets stamped MB—those were chemically fumigated.
- Draw Elevations. A simple side view of fuselage, wings, tailfin, and prop saves confusion later when you’re knee-deep in slats.

Spend an evening tweaking angles until you can picture the finished craft taxiing across your driveway. That mental clarity cuts build time nearly in half.
4. Tools & Materials Checklist: Airplane Wooden Pallet Planters
Essential Tools
- Pry bar or pallet buster
- Hammer and 8 cm cat-claw for nail removal
- Cordless drill/driver (minimum 14 V)
- Jigsaw with clean-cut wood blade
- 25 mm spade bit (for drainage holes)
- Orbital sander, 80- and 150-grit discs
- Carpenter’s square and tape measure
- Clamp set (4 × 150 mm)
- Exterior wood screws: 4 × 50 mm and 4 × 75 mm
Optional Upgrades
- Mitre saw for crisp angle cuts
- Hole saw kit (if adding porthole windows)
- Riveting pop-rivet gun for sheet-metal prop
- Woodburning pen for tail numbers or art
Lumber & Hardware
- Two standard 100 × 120 cm heat-treated pallets (approx. 18-20 slats each)
- 1 × 2 m length of 19 mm timber dowel (prop shaft and wing struts)
- 4 × 25 mm exterior plywood for bulkheads (scrap pieces fine)
- Galvanized corner brackets (8)
- Landscaping fabric (½ m²)
- Exterior wood glue
- Outdoor primer + paint or food-safe penetrating oil
- 4 × 100 mm carriage bolts + washers (for removable wings)
- Recycled 15 cm metal can or jar lid (propeller hub)
5. Runway to Reality: Step-by-Step Build
Step 1 – Harvest & Prep Pallets
Carry pallets to a flat work surface. Slide the pry bar under top slats, rocking gently to release nails without splitting wood. Remove all fasteners; dull ends lurk like shrapnel waiting for unsuspecting fingertips. Stack slats by width: 9 cm boards for fuselage walls, 7 cm for wings, 5 cm for trim. Plane or sand rough faces until splinter-free. Finally, mark every slat HT or safe stamp and discard any questionable pieces.
Step 2 – Build Fuselage Walls
Cut six 90 cm slats for side walls and four 25 cm pieces for short ends. Arrange two long slats horizontally on scrap blocks, 20 cm apart. Glue and screw a short end piece across them. Repeat at the opposite end, forming a rectangle. Add the second layer, offsetting seams for strength. Finish with a third tier. You now have a sturdy box roughly 25 cm tall. Drill four 25 mm holes in the bottom for drainage, lining them up on centerline so water flows evenly.
Step 3 – Shape the Nose Cone
From 18 mm plywood, trace a semicircle 25 cm wide and cut with a jigsaw. This bulkhead bolts onto the front of the box, tapering the silhouette like a cockpit nose. Add two pallet offcuts cut to wedge shapes behind it, filling the gap. Sand smooth. The subtle curve turns a rectangular planter into unmistakable aircraft.
Step 4 – Craft Wings
Select eight 60 cm slats. Pair them into four laminated spars: glue and clamp edges, then screw through from one side. Once dry, sand flush. Repeat with four more 60 cm slats for top skin. Fasten skin onto spars, set 10 cm apart, leaving 5 cm overhang at each tip for a graceful dihedral. Repeat for second wing. Drill 10 mm pilot holes through wing roots; later they’ll slide onto dowel struts.

Step 5 – Build Tailplane and Rudder
The horizontal stabilizer mirrors wing construction on a smaller 40 cm scale. Fashion a vertical rudder from two 30 cm x 15 cm slats glued face-to-face. Sand edges round. Attach rudder to stabilizer with pocket screws angled upward at 10 °. This subtle rake screams vintage biplane flair.
Step 6 – Assemble the Airframe
Center a 90 cm length of dowel horizontally across the fuselage sides, 10 cm down from top edge. Predrill, glue, and screw. Slide wing roots onto dowel, sandwiching with washers, then secure using 100 mm carriage bolts through fuselage walls—wings become removable for winter storage. Fit tailplane flush with rear wall, braced by two triangular pallet gussets. Finally, glue and screw the nose bulkhead into place.
Step 7 – Landing Gear & Propeller
For fixed wheels, cut two 18 cm discs from scrap plywood, drill hubs, and screw-mount to 10 cm pallet-block axles. For rolling gear, substitute reclaimed pram wheels and a 12 mm threaded rod axle bolted through fuselage runners. The propeller uses crossed 30 cm pallet slats, edges chamfered. Join them at center with a metal can lid and mount on a dowel stub above the nose. A small fender washer allows free spin in breezes—garden visitors will swear the engine’s idling.
Step 8 – Sanding, Sealing, and Color
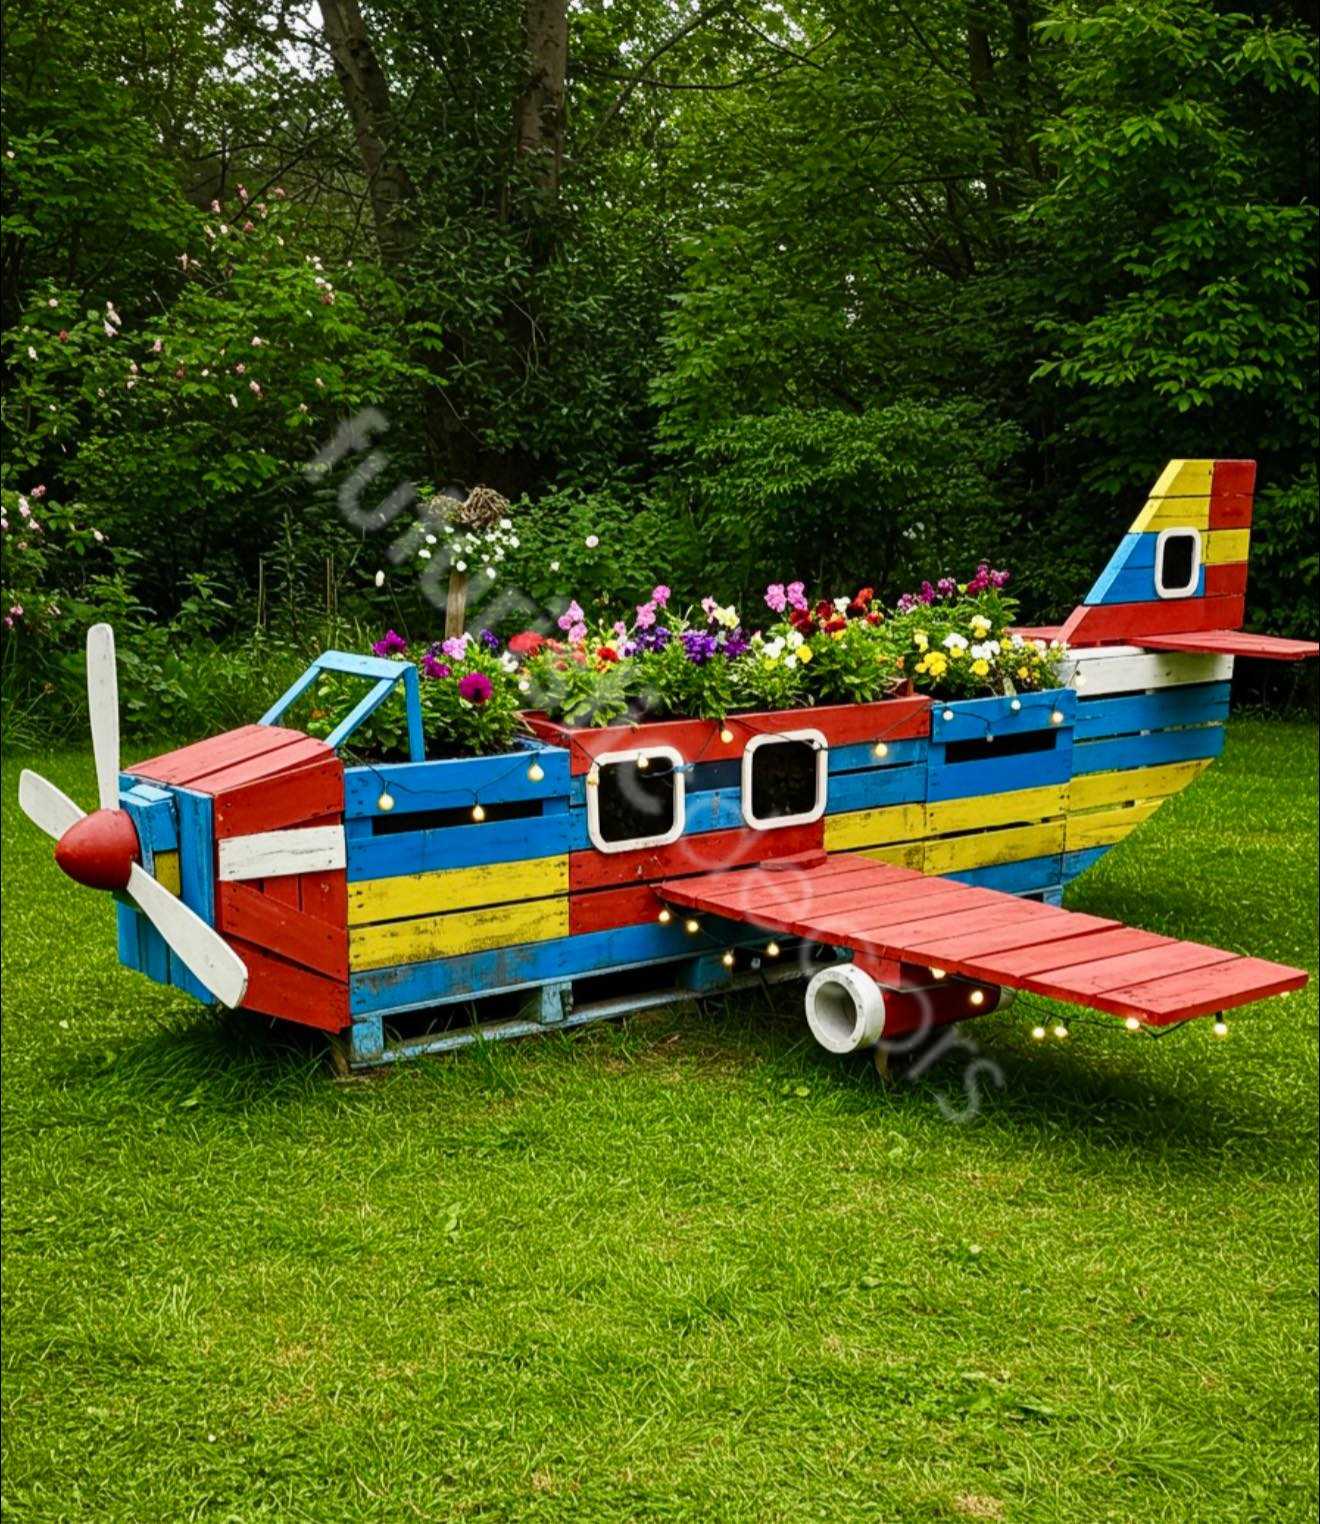
Run an orbital sander over every surface, finishing at 150-grit for a palm-soft touch. Vacuum dust, then flood-coat joints with exterior wood glue to seal micro-cracks. Prime with an alkyd-based primer or food-safe tung oil. After drying, unleash your inner paint-shop crew: sky-blue fuselage, white wing stripes, and a sunny yellow tail give cheerful contrast, or go WWI heritage with drab green and iron crosses—your call. Two topcoats of marine varnish lock colors beneath UV armor.
Step 9 – Lining & Filling
Staple landscaping fabric inside the fuselage and wings, trimming corners neatly. The fabric stops soil escaping while preserving drainage. Fill with a 60/40 blend of compost and peat-free potting mix. Water thoroughly until liquid seeps from hull drainage holes, proving clear run-off.
Refer to similar product models: Click here
6. Planting the Payload: Airplane Wooden Pallet Planters
6.1 Best Crops for Your Craft
- Herbs: basil, thyme, oregano (low root depth)
- Trailing Edibles: strawberries, nasturtiums (cascade over wings)
- Pollinator Magnets: dwarf zinnias, marigolds (boost nearby veggie yield)
6.2 Companion Layout
Place drought-tolerant plants along edges; moisture-loving species center-line where soil stays damper. Stagger heights so taller stems occupy cockpit and tail, smaller spills drape wing tips.
6.3 Seasonal Switching
Swap summer herbs for winter pansies or ornamental cabbage. The removable wings make replanting simple—just detach, tip spent soil into compost, and refill anew.
7. Customization Hangar: Airplane Wooden Pallet Planters
Solar-Powered Navigation Lights
Drill 12 mm holes along wing leading edges, insert mini LED stakes. At dusk, your craft glows like a runway approach.
Chalkboard Tail Number
Paint tailfin with chalkboard paint. Update call-sign weekly—fun for kids and Instagram captions.
Rainwater Recovery
Mount a gutter along the upper wing with a hose feeding directly into fuselage soil, turning the plane into a self-watering system.
Mini-Greenhouse Canopy
Bend clear polycarbonate into a canopy arch over the cockpit. This boosts temperature by 4 °C, perfect for early tomatoes.
Prop-Driven Bird Deterrent
Add reflective Mylar streamers to propeller blades. As it spins, flashes scare off hungry sparrows without harming them.
8. Safety & Eco Notes
- Wear eye protection while sawing pallet nails; shards can pop.
- Use only heat-treated pallets for edible plants.
- Apply child-safe finishes if toddlers play near the planter.
- Preserve off-cuts for future repairs or smaller planter projects.
9. Troubleshooting Ground Crew
| Symptom | Likely Cause | Quick Fix |
|---|---|---|
| Wings sag after heavy rain | Dowels undersized | Replace with 25 mm hardwood dowel and add center strut |
| Fuselage boards splitting | Screws driven too close to edge | Back out, pre-drill 3 mm pilot holes, re-insert |
| Paint peeling within a year | Inadequate sanding / primer | Strip with heat gun, sand 120-grit, re-prime, apply marine-grade enamel |
| Soil dries out too fast | Drainage excessive | Line with thicker coco-coir sheet, top with mulch |
10. Frequently Asked Questions: Airplane Wooden Pallet Planters
Q: How long do pallet planters last outdoors?
A well-sealed and elevated Airplane Wooden Pallet Planters frame survives 5–7 years in temperate climates, longer if stored indoors over winter.
Q: Can I scale the design for a balcony?
Absolutely. Shrink the fuselage to 60 cm and wings to 40 cm. Skip landing gear to lower weight. Use lightweight soil blends.
Q: What if I don’t own a jigsaw?
Many home-improvement stores offer workshop spaces with saw rentals. Alternatively, straight-edge cuts with a handsaw produce a boxy plane that still charms.
Q: Will pallet wood leach chemicals into veggies?
Heat-treated pallets (look for the “HT” stamp) are safe. Steer clear of pallets marked “MB” (methyl bromide). When in doubt, line interior walls with thick food-grade plastic.
Conclusion: “Airplane Wooden Pallet Planters”
When the last coat of varnish flashes in the sun and the propeller starts its lazy spin, you’ll realize you’ve built far more than a planter—you’ve launched a statement piece that lifts spirits and seedlings in equal measure. Airplane Wooden Pallet Planters prove that scraps can soar, ordinary tools can engineer delight, and a dash of imagination is the best fertilizer any garden could ask for. Each season, as blossoms overflow the cockpit and bees patrol the wingtips, you’ll feel that rush of satisfaction money can’t buy. So keep an eye on the horizon, dream up fresh paint schemes, and share the blueprints with neighbors—because once one pallet plane touches down, an entire backyard fleet is only a gust of inspiration away.


