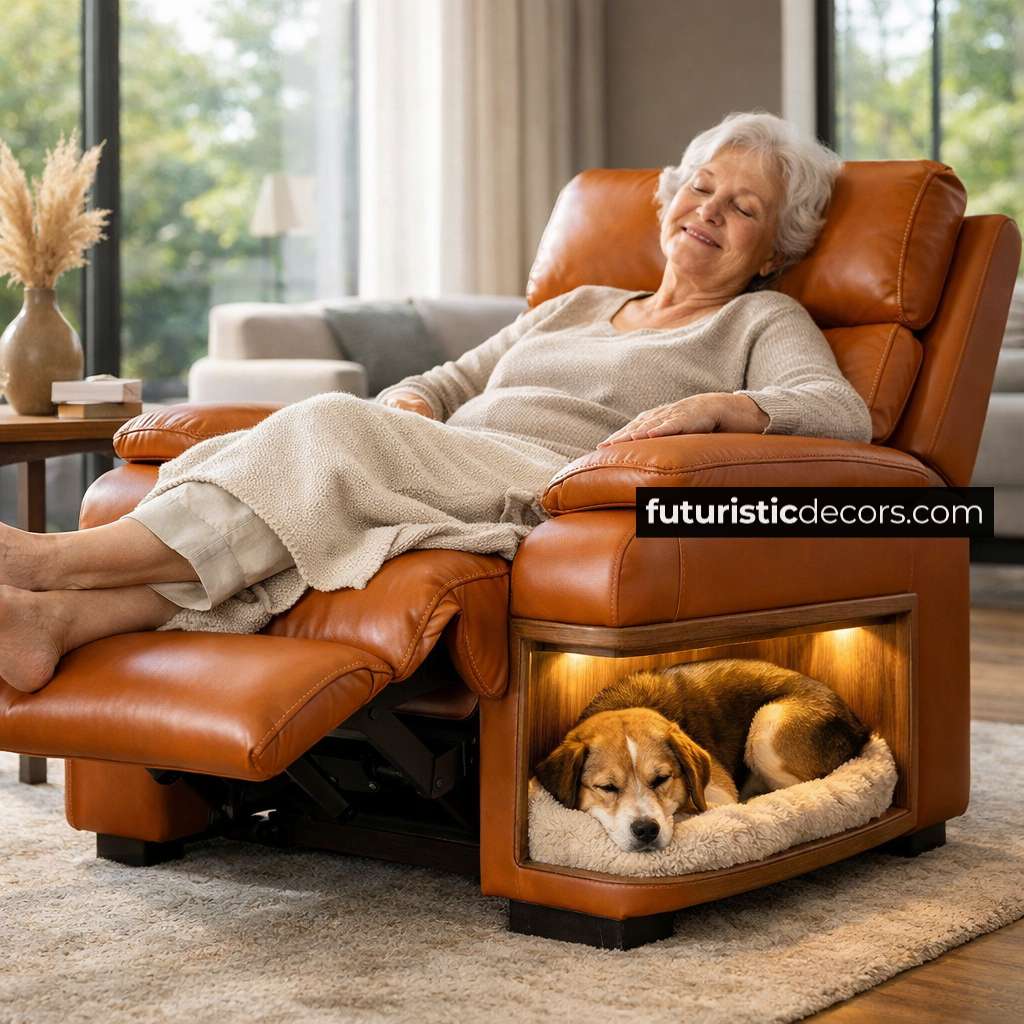
Welcome, fellow makers and magic enthusiasts! If you’ve ever dreamed of infusing a touch of wizarding charm into your home while creating a practical and imaginative sleeping space, you’re in for a treat. In this comprehensive guide, we’ll walk you through every step of building your very own Hogwarts Castle Bunk Beds—a DIY project that not only provides comfort and functionality but also transforms any room into a realm of magic and mystery. Whether you’re a seasoned DIY veteran or a passionate beginner eager to embark on an enchanting adventure, this article is tailored for you.
In this guide, you’ll learn how to plan, design, and construct bunk beds that evoke the grandeur of Hogwarts Castle. We’ll delve into detailed instructions, list all necessary materials and tools, and share tips on customizing your project with finishing touches that bring the wizarding world right into your home. So, grab your measuring tape, sketchpad, and a healthy dose of creativity, and let’s embark on this journey together!
Introduction: The Magic Behind DIY Hogwarts Castle Bunk Beds
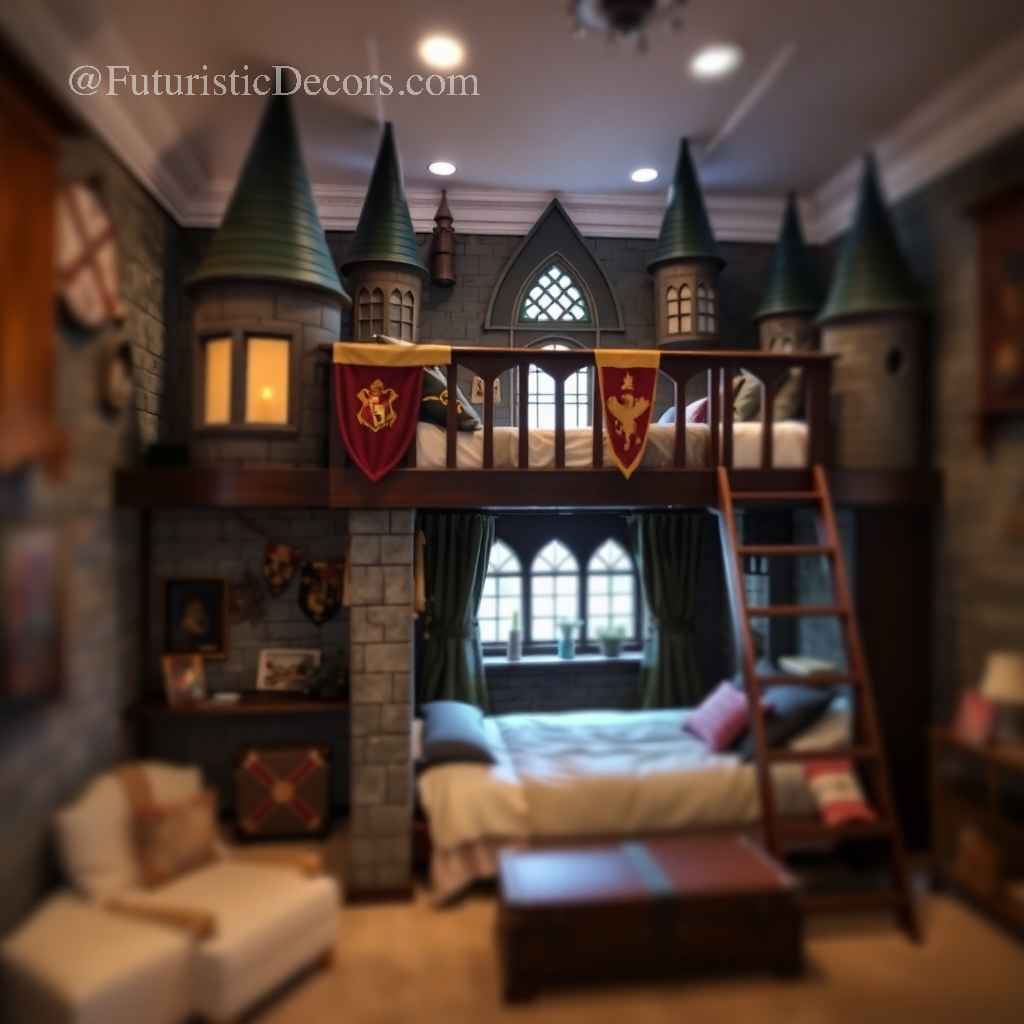
Creating furniture with a magical twist can turn an ordinary bedroom into a place where dreams and adventures come alive. The idea behind these DIY Hogwarts Castle Bunk Beds is more than just a functional piece of furniture—it’s a portal to your very own wizarding wonderland. Inspired by the iconic architecture and rich history of Hogwarts School of Witchcraft and Wizardry, these bunk beds combine imaginative design with sturdy construction, ensuring they are both safe and spectacular.
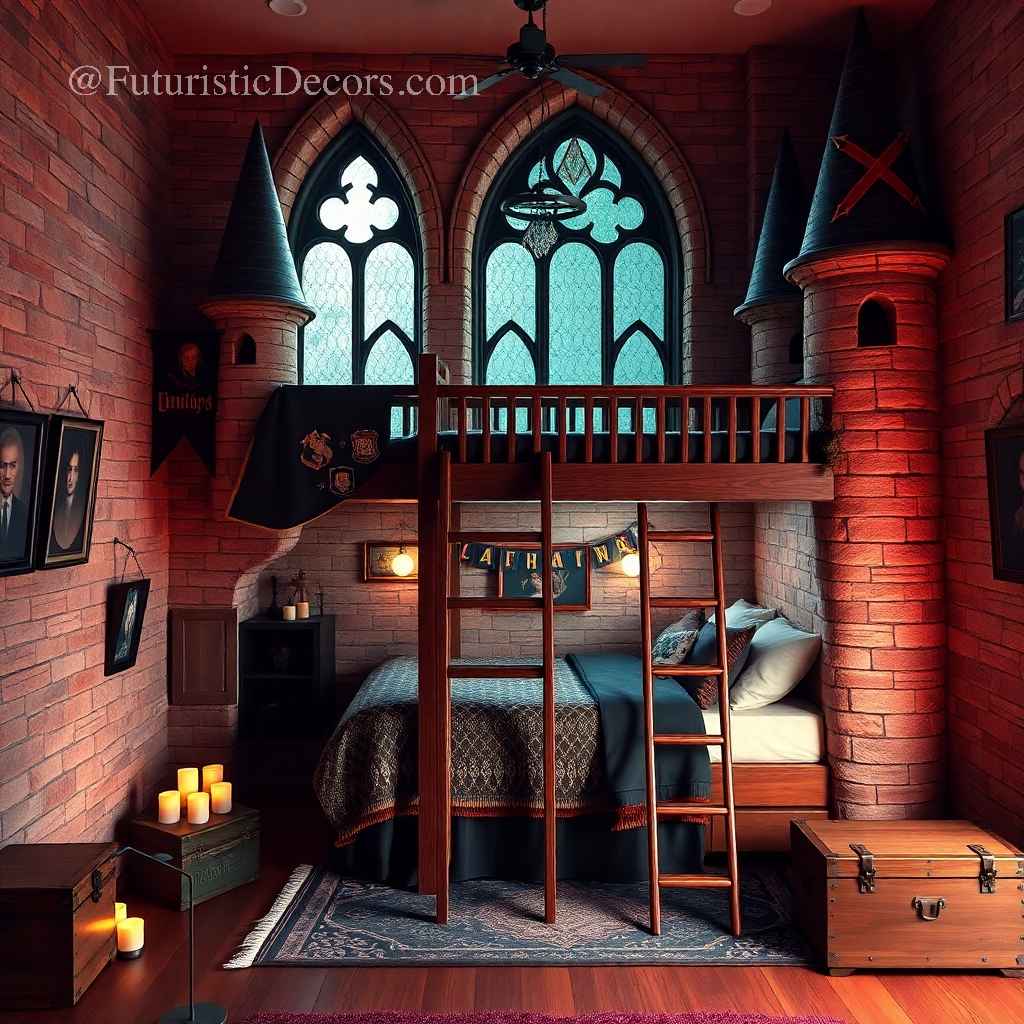
Imagine your children, or even yourself, climbing up a ladder into a space reminiscent of the castle’s turrets and secret passages. This project marries the art of woodworking with the magic of storytelling, offering a hands-on experience that nurtures creativity, problem-solving, and a sense of accomplishment. The end result is not just a place to sleep, but a conversation starter and a daily reminder that magic exists in the little details of life.
In today’s DIY world, projects that combine functionality with a unique aesthetic are in high demand. With increasing interest in personalized, themed furniture, a project like this meets both practical needs and a desire for creative expression. Moreover, crafting your own Hogwarts Castle Bunk Beds offers the satisfaction of building something truly one-of-a-kind—a piece that reflects your personal style and passion for all things magical.
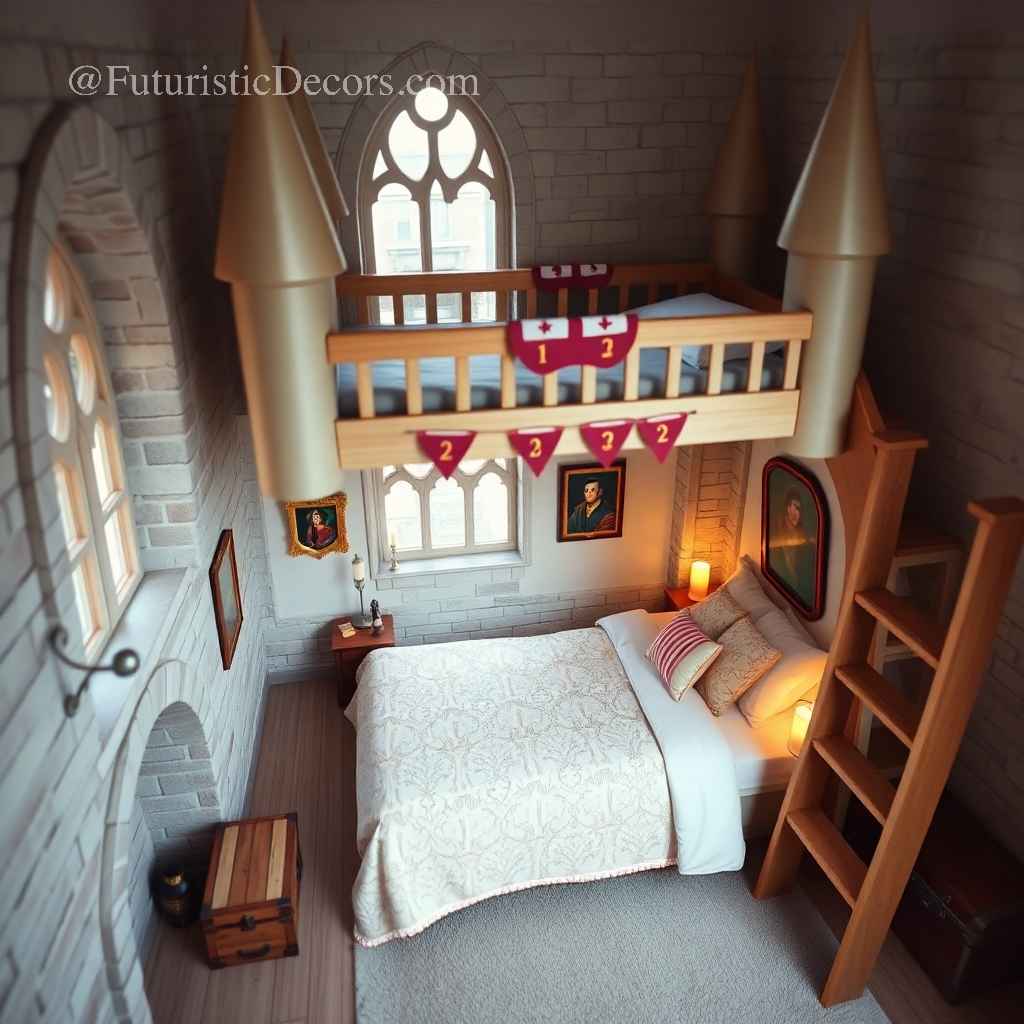
As we explore the process of constructing these enchanting beds, keep in mind that every step is an opportunity to add your personal touch. From selecting the perfect type of wood to adding the final decorative flourishes, this guide is filled with ideas and insights to help you achieve a professional-looking result. Whether you’re building for your child’s room or as a statement piece in your own home, these bunk beds will provide years of inspiration and delight.
Planning Your Project: From Vision to Blueprint
Every successful DIY project begins with a well-thought-out plan. Before you pick up a saw or hammer a nail, it’s crucial to map out your design and prepare for the construction process. This initial planning phase ensures that your Hogwarts Castle Bunk Beds not only look fantastic but are also structurally sound and safe for everyday use.
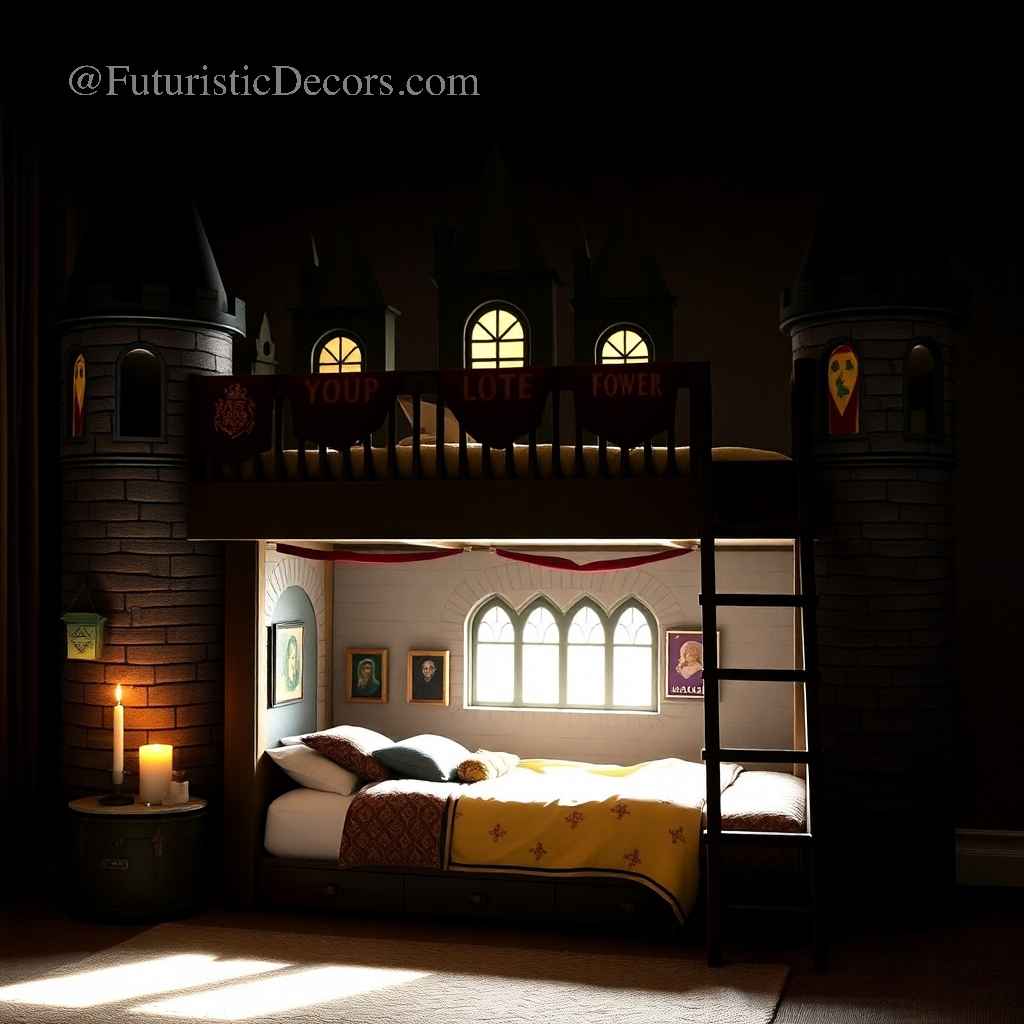
Setting the Vision
Begin by envisioning the final look of your bunk beds. Consider the following:
- Theme & Style: Do you want your bunk beds to mimic the towering spires of Hogwarts, complete with castle-like embellishments? Perhaps you envision a design that subtly hints at magical architecture with elegant curves and intricate details.
- Room Dimensions: Measure the room where the bunk beds will be installed. Ensure that there is enough space for both the bed structure and any additional features, such as a play area or storage units.
- User Needs: Think about who will be using these beds. If the project is for children, consider safety features like sturdy guardrails and secure ladders. For adults, you might incorporate design elements that are both sophisticated and functional.
Creating Detailed Blueprints
Once your vision is clear, the next step is to translate it into detailed blueprints. Sketch your design on paper or use computer-aided design (CAD) software if you’re comfortable with digital tools. Your blueprint should include:
- Dimensions and Scale: Accurate measurements for every part of the bunk bed, including the beds’ height, width, and length, as well as the dimensions of supporting structures.
- Structural Components: Identify all key components such as the main frame, ladders, guardrails, and any decorative elements like faux battlements or window frames.
- Joinery and Fastening Methods: Plan how each component will be connected. Consider using a combination of screws, bolts, and wood glue to ensure maximum stability.
Budgeting and Scheduling
A thorough plan includes a clear budget and timeline. Estimate the costs for materials, tools, and any additional decorative elements. Factor in a little extra for unexpected expenses or adjustments along the way. Creating a timeline with milestones—such as completing the design, cutting the materials, assembling the structure, and applying the finish—helps you stay organized and motivated throughout the project.
Permits and Safety Considerations
Before you start building, check if there are any local regulations or building codes that might apply, especially if you’re constructing a large piece of furniture. Safety is paramount, so make sure you have a clear understanding of how to work with power tools and heavy materials. It might also be helpful to have an extra pair of hands on deck or consult with a professional if you’re tackling a particularly complex part of the design.
In summary, planning is the foundation upon which your DIY project stands. By dedicating time to create a detailed and realistic plan, you pave the way for a smooth construction process and a final product that not only meets but exceeds your expectations.
Step-by-Step Building Instructions
Now that you have a solid plan and all your materials in place, it’s time to get to work! This section provides detailed, step-by-step instructions to guide you through constructing your DIY Hogwarts Castle Bunk Beds. Follow these steps carefully, and don’t be afraid to personalize certain elements as you see fit.
Step 1: Preparing the Workspace and Materials
Begin by setting up your workspace. Lay out all your materials and tools, ensuring you have ample room to move around. Double-check your measurements and verify that all your components match your design specifications. This preparatory stage is crucial for a smooth assembly process.
- Safety First: Confirm that your workbench is stable and that your cutting and drilling areas are clear of obstructions.
- Marking the Wood: Using a pencil and ruler, mark all cut lines and drilling points on your wood pieces. Accurate markings will save you time and prevent costly mistakes later on.
Step 2: Cutting the Wood
With your marked measurements, start cutting your wood pieces:
- Main Frame Pieces: Cut the main support beams and planks for the bed’s frame. Precision here is key; use a circular saw or table saw for long, straight cuts.
- Decorative Panels: If your design includes castle-like details such as faux stone panels or battlements, carefully cut these pieces. A jigsaw can be extremely helpful for curved or intricate designs.
Take your time during this phase—each cut contributes to the overall stability and aesthetic of the bunk beds.
Step 3: Assembling the Base Frame
The base frame serves as the backbone of your Hogwarts Castle Bunk Beds:
- Layout and Dry Fit: Arrange the cut pieces according to your blueprint. Ensure all parts fit together snugly before applying any fasteners.
- Joinery: Begin by joining the main support beams using wood glue and screws. Reinforce each joint with metal brackets where necessary.
- Level and Square: Constantly check that your frame is level and square. A misaligned frame can compromise the entire structure.
Step 4: Constructing the Bunk Areas
Now, build the bunk areas where the mattresses will rest:
- Platform Assembly: Assemble the platforms for the upper and lower bunks. These should be securely fastened to the main frame.
- Guardrails: For safety, especially on the upper bunk, install sturdy guardrails. Ensure the guardrails are at an appropriate height to prevent falls.
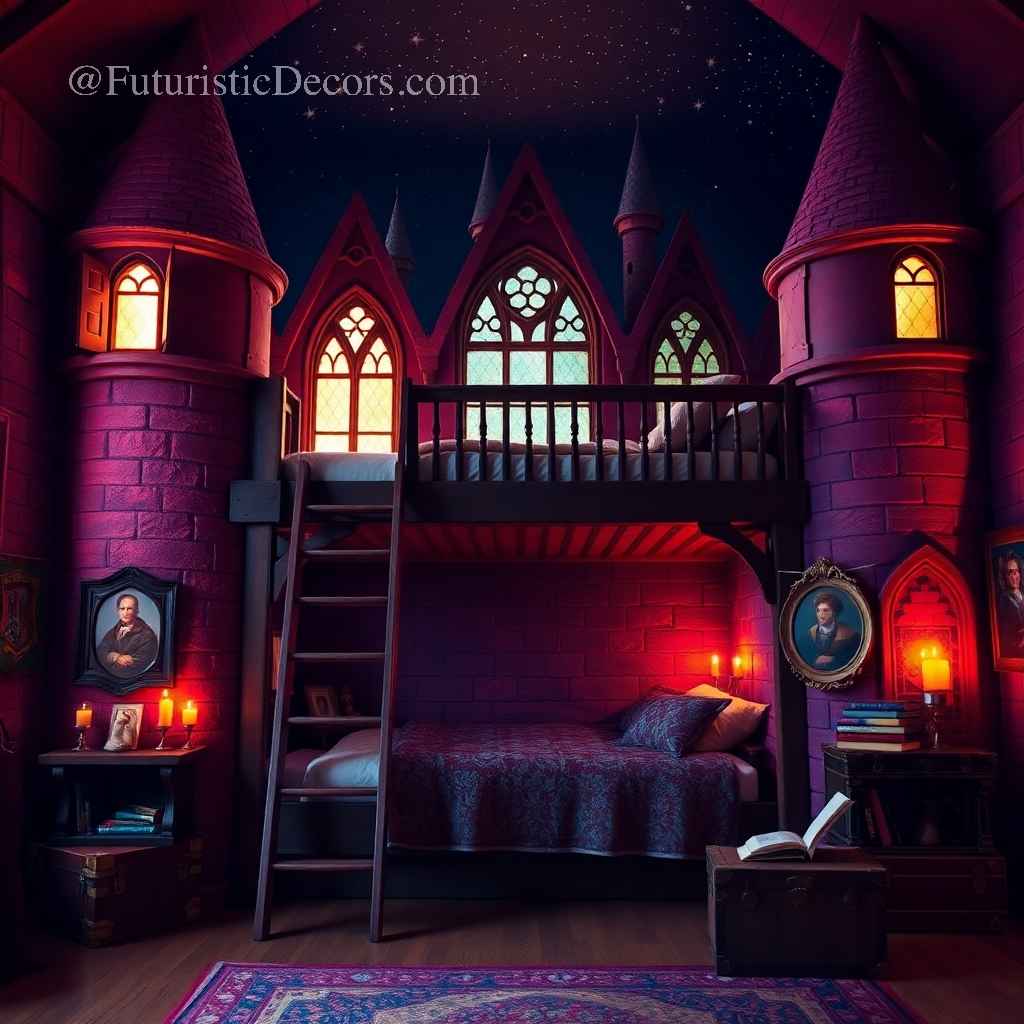
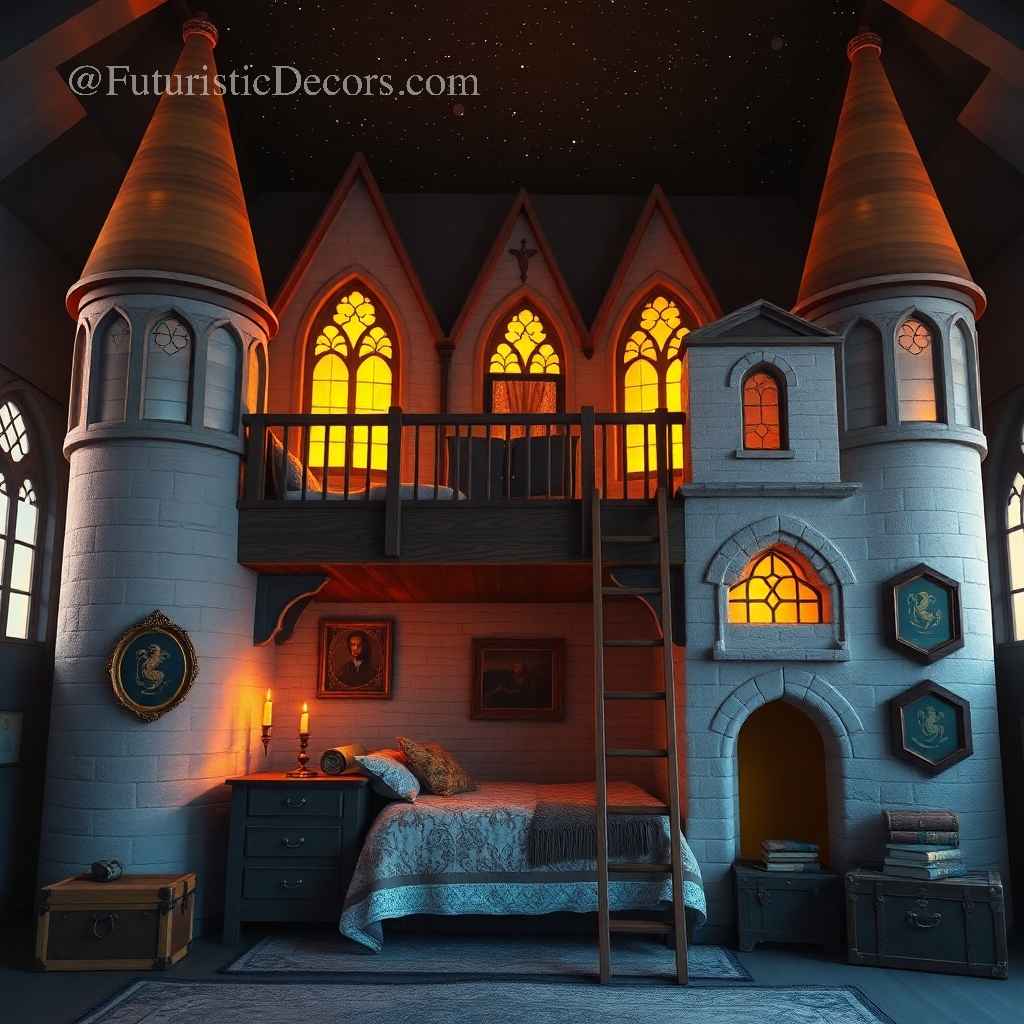
- Ladder Construction: Build or attach a ladder that complements your castle theme. The ladder can be a simple straight ladder or feature decorative rungs reminiscent of a castle’s spiral staircase. Secure the ladder firmly to the frame.
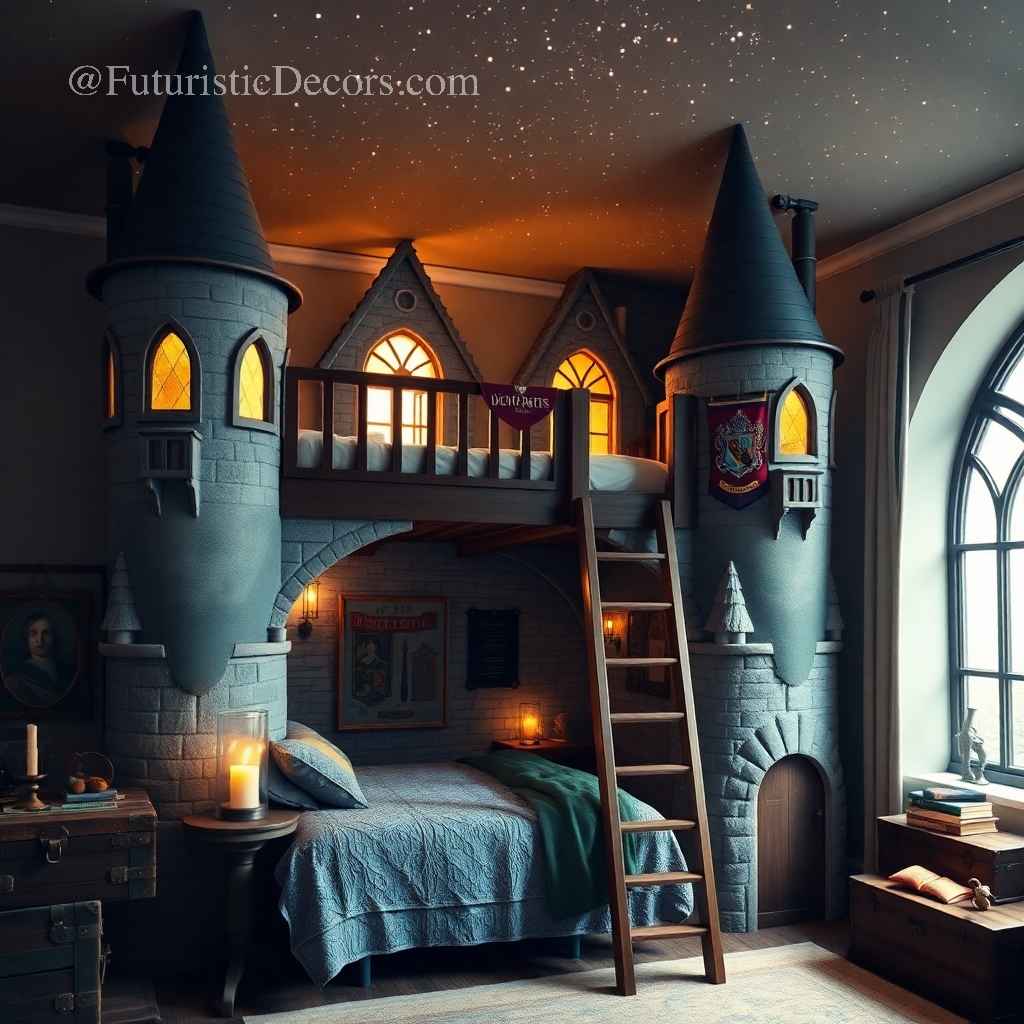
Step 5: Adding Castle-Inspired Details
To transform your bunk beds into a true wizarding wonderland, add creative details:
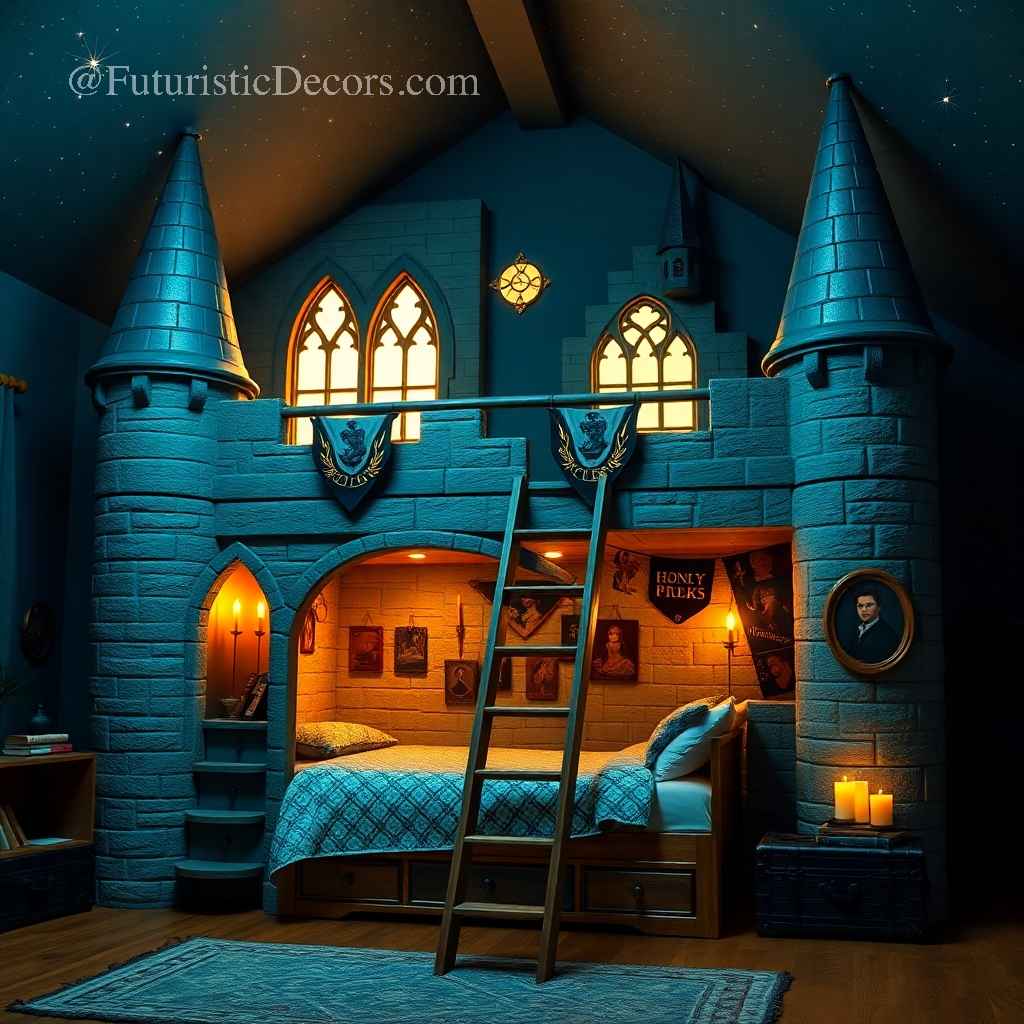
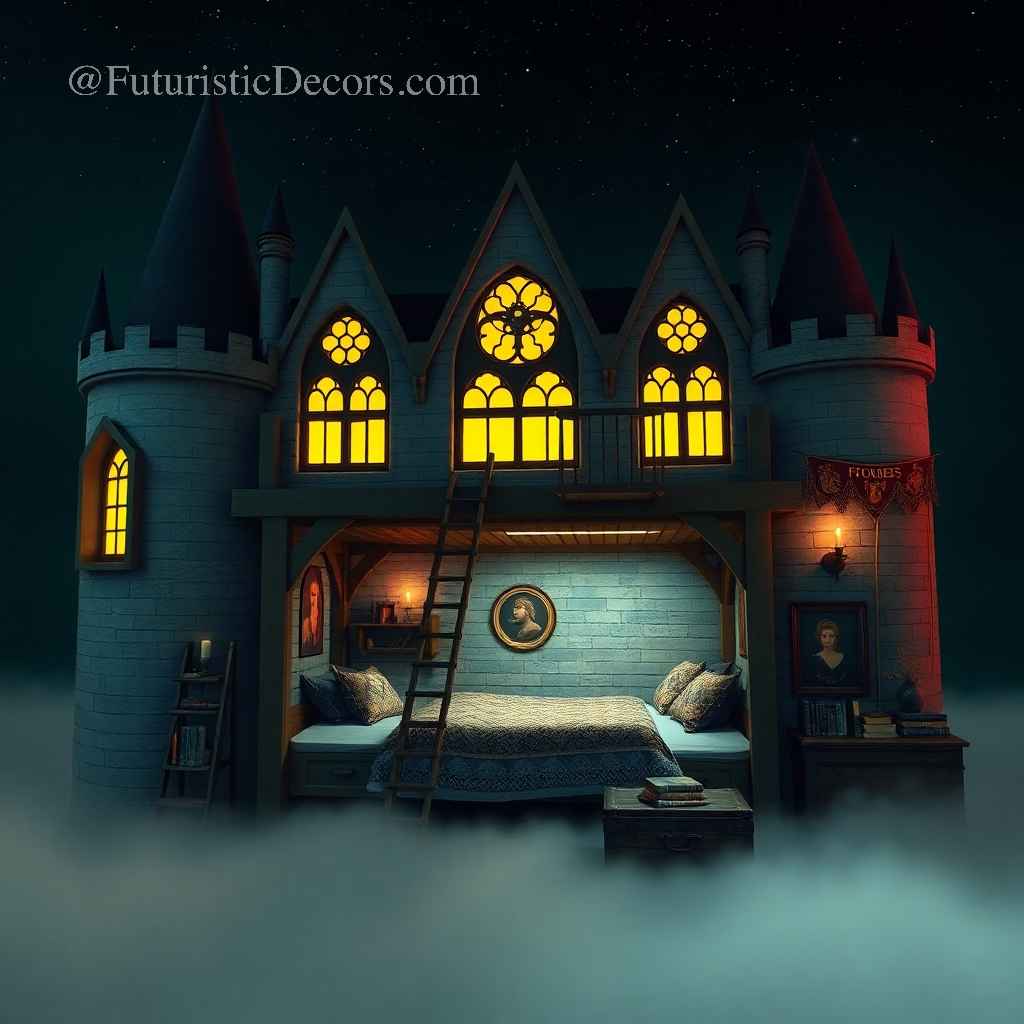
- Battering Blocks & Turrets: Consider adding small turret-like structures or decorative panels along the sides of the bunk beds. These elements can mimic the look of castle battlements.
- Window Frames and Archways: If space permits, integrate faux window frames or archways. Use contrasting paint colors to accentuate these details.
- Carvings and Embellishments: For an extra magical touch, add carvings or stenciled designs that evoke the heraldry of Hogwarts. House crests, intricate scrollwork, and even whimsical motifs can be incorporated to make your design truly unique.
Step 6: Sanding and Preparing for Finishing
Once the assembly is complete, smooth all surfaces with sandpaper or an electric sander:
- Uniform Texture: Ensure every surface is free of splinters and rough edges. This not only enhances the appearance but also improves safety, especially for younger users.
- Dust Removal: Wipe down the wood to remove dust, preparing it for the primer and paint.
Step 7: Painting and Finishing Touches
The finishing phase is where your Hogwarts Castle Bunk Beds truly come to life:
- Primer Application: Apply a quality primer to all surfaces. This step helps the paint adhere better and ensures a uniform finish.
- Painting: Choose a color palette that reflects the timeless elegance of Hogwarts. Deep grays, muted blues, and earthy tones work well. You may choose to paint the bunk beds in a single, solid color or use accent colors for details.
- Staining/Sealing: For a natural wood finish, apply a stain or sealant instead of, or in addition to, paint. This not only protects the wood but also highlights its natural beauty.
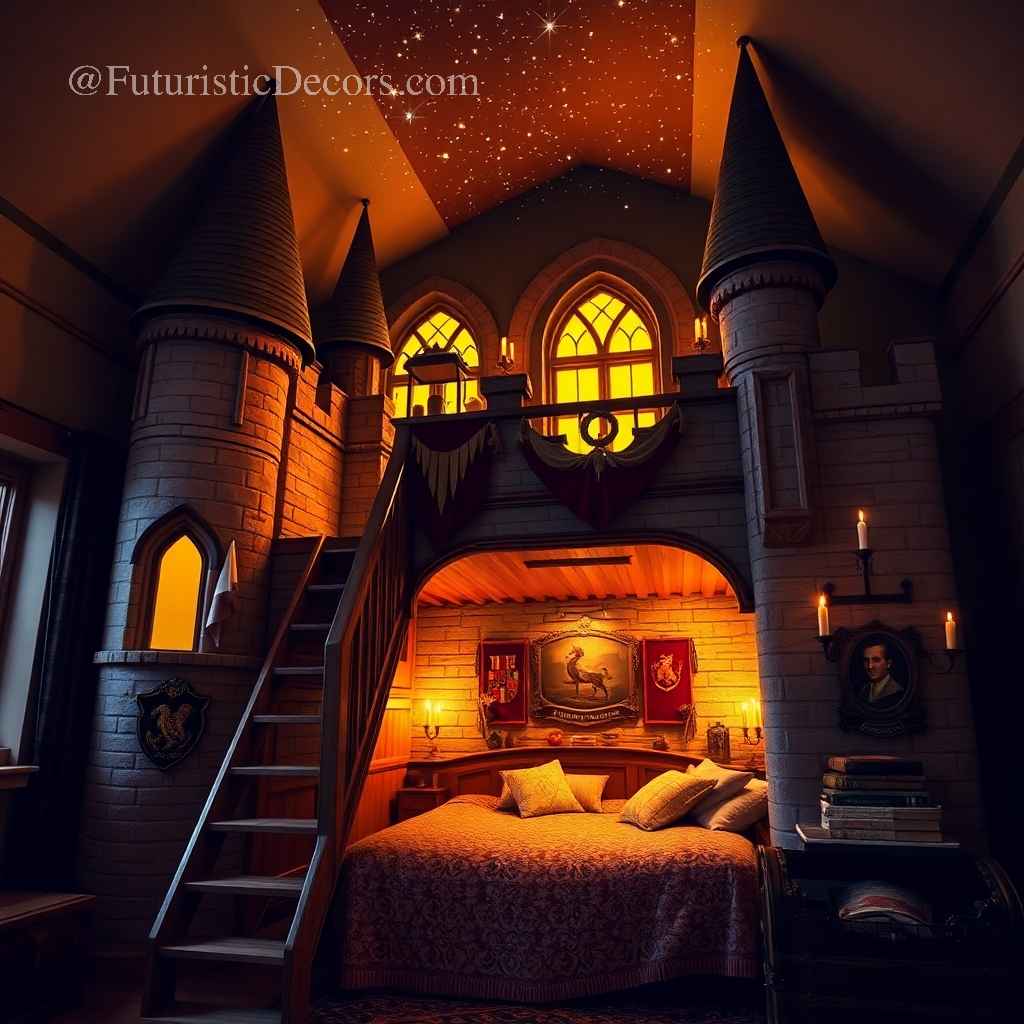
- Detail Work: Once the primary finish is dry, add any additional decorative elements. This might include painting house crests, stenciling magical symbols, or affixing decorative hardware that mimics wrought iron details.
Step 8: Final Assembly and Inspection
With the paint or stain completely dry, assemble any remaining parts:
- Attaching Decorative Elements: Secure any extra features that were not installed earlier, such as faux stone panels or ornamental accents.
- Inspection: Go over the entire structure meticulously. Check for any loose screws, uneven surfaces, or potential hazards. Ensure that guardrails, ladders, and all joints are firmly in place.
- Test Stability: Before use, gently test the sturdiness of the bunk beds by applying slight pressure. A stable, secure frame is essential for safety and longevity.
By following these steps, you can transform a collection of wood and hardware into a stunning piece of furniture that doubles as a gateway to a magical realm. Your DIY Hogwarts Castle Bunk Beds will not only serve as a functional sleeping space but also as a centerpiece of creativity and fantasy in your home.
Safety Considerations and Expert DIY Tips
Building large furniture like bunk beds requires extra care to ensure safety and durability. Here are some important considerations and tips to keep in mind during your DIY project:
Prioritizing Safety
- Structural Integrity: Always ensure that the joints and supports are robust. Double-check that every screw, bolt, and bracket is tightly secured. A small oversight in construction can lead to instability.
- Guardrails and Ladder Safety: For bunk beds, particularly those meant for children, the guardrails should be high enough to prevent accidental falls. Similarly, the ladder should have wide, non-slip steps and be securely attached to the frame.
- Tool Safety: Follow manufacturer guidelines for all power tools. Wear appropriate personal protective equipment (PPE) such as safety goggles, ear protection, and gloves to prevent injuries.
- Weight Limits: Consider the maximum weight the bunk beds need to support and design the structure accordingly. Reinforce critical points with extra hardware if necessary.
Expert DIY Tips
- Test Fit Pieces First: Always dry-fit pieces together before applying glue or screws. This helps you identify any discrepancies in measurements or design issues.
- Invest in Quality Materials: While it might be tempting to cut corners, investing in high-quality wood and hardware will yield a more durable and attractive final product.
- Use Templates: If you’re adding intricate designs or decorative cutouts, create templates first. Templates can help you achieve consistent results on multiple pieces.
- Plan for Future Adjustments: Leave a little extra space or add removable decorative panels. This allows for future modifications or repairs without having to rebuild the entire structure.
- Document the Process: Take photos and notes during each phase of construction. This documentation can be invaluable if you need to troubleshoot issues later or decide to build another piece in the future.
By following these safety and expert tips, you not only protect yourself during the building process but also ensure that your Hogwarts Castle Bunk Beds will stand the test of time and provide a safe, magical environment for years to come.
Customization and Finishing Touches: Adding Your Personal Wizarding Flair
One of the most exciting aspects of creating DIY Hogwarts Castle Bunk Beds is the opportunity to infuse your personality and creativity into the design. After the core structure is complete, you have endless possibilities to add features that reflect your love for the wizarding world.
Enhancing the Magical Theme
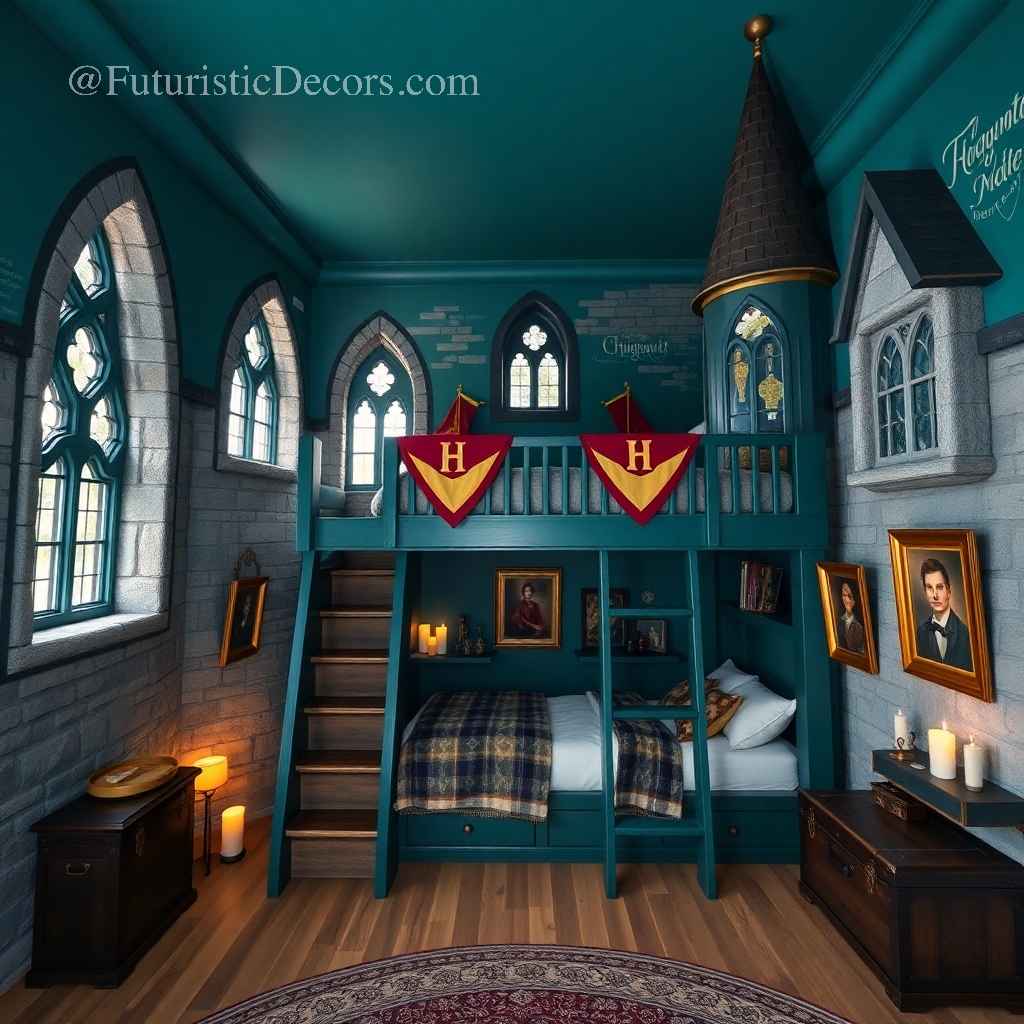
- House Colors and Emblems: Consider incorporating the signature colors of your favorite Hogwarts house. Use stencils or decals to add house crests and symbols onto the headboard or side panels.
- Castle Details: Integrate elements that mimic castle architecture—small faux battlements, turret-like structures at the corners, or arched windows painted in contrasting colors. These details bring the feel of a grand, ancient fortress into a modern setting.
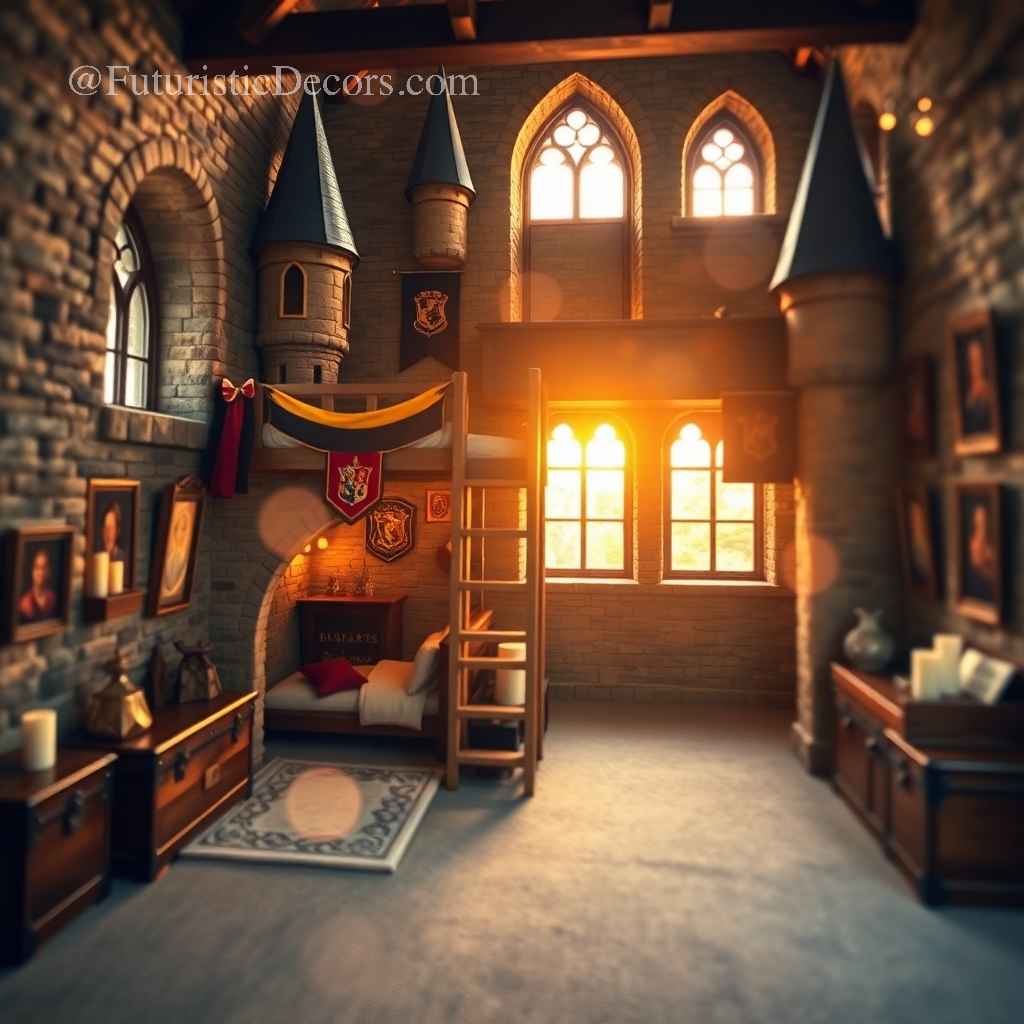
- Lighting Effects: Add LED strip lights or small, battery-operated lanterns around the structure. Soft, ambient lighting can evoke the mysterious corridors of a castle and create a cozy, enchanting atmosphere.
- Custom Hardware: Look for unique knobs, handles, or decorative bolts that fit the theme. Sometimes, a carefully chosen piece of hardware can elevate the design from ordinary to extraordinary.
Personalizing for Functionality
- Storage Solutions: Incorporate hidden storage compartments or shelves beneath the bunks. These can be used to store bedding, books, or even magical trinkets.
- Work and Play Areas: If space allows, design the lower bunk to include a small desk or reading nook. This multi-functional area can double as a study space, reminiscent of the secret study areas at Hogwarts.
- Flexible Features: Consider adding modular components that can be rearranged or updated over time. For example, removable panels or adjustable guardrails provide flexibility as needs change.
Final Touches That Make a Difference
- Finishing Coats: Apply a final coat of sealant or wax to protect the surface and give the wood a subtle sheen. This step not only enhances the appearance but also increases the longevity of your creation.
- Signature Detailing: As a finishing flourish, add your signature style. Whether it’s a custom-painted motif, hand-carved details, or even a small inscription celebrating the magic of creativity, these details personalize the project and make it uniquely yours.
Your DIY Hogwarts Castle Bunk Beds are not just pieces of furniture—they are an embodiment of your imagination, passion, and craftsmanship. With these customization tips, your final product will be a true reflection of the wizarding world and your personal style.
Frequently Asked Questions (FAQs)
Q1: Are the Hogwarts Castle Bunk Beds safe for children?
A1: Absolutely! When constructed properly with sturdy guardrails, secure ladders, and high-quality materials, these bunk beds are designed with safety in mind. Always supervise young children and ensure that all safety measures are in place.
Q2: Can I modify the design to fit a smaller or larger room?
A2: Yes, the design is highly customizable. Adjust dimensions in your blueprint to fit your available space, and modify decorative elements as needed. The modular nature of the design allows for flexibility without compromising structural integrity.
Q3: What type of wood is best for this project?
A3: Durable woods like oak, pine, or birch are excellent choices. Plywood can be used for the main structure, while solid planks are ideal for decorative components. Choose wood that suits your aesthetic and budget.
Q4: How long does it typically take to complete this project?
A4: The timeline can vary depending on your experience and the complexity of your design. Generally, setting aside several weekends or a dedicated block of time can allow you to complete the project with attention to detail.
Q5: Can I add other magical elements to the design?
A5: Definitely! This project is all about creativity. Feel free to incorporate additional elements like secret compartments, hidden messages, or even integrated LED lighting to enhance the magical atmosphere.
Refer to similar product models: Click here
Building your own DIY Hogwarts Castle Bunk Beds is an extraordinary way to combine craftsmanship with fantasy. This project offers not only a functional piece of furniture but also a creative outlet that transforms a room into a wizarding wonderland. From careful planning and precise cutting to the final strokes of decorative detail, every step in this process is an opportunity to bring a piece of magic into your home.
By following this guide, you now have all the tools and insights needed to create a set of bunk beds that are both practical and steeped in the spirit of Hogwarts. As you see your creation take shape, remember that every screw tightened and every brushstroke applied is part of a larger narrative—a story of creativity, perseverance, and the belief that magic is real.
So, gather your tools, ignite your imagination, and embark on this adventure with the confidence that you are building more than just a piece of furniture—you’re creating a legacy of creativity and wonder. May your DIY journey be filled with joy, and may your Hogwarts Castle Bunk Beds stand as a testament to the magic that exists in every home.
Happy building, and remember: the magic is in your hands!


