
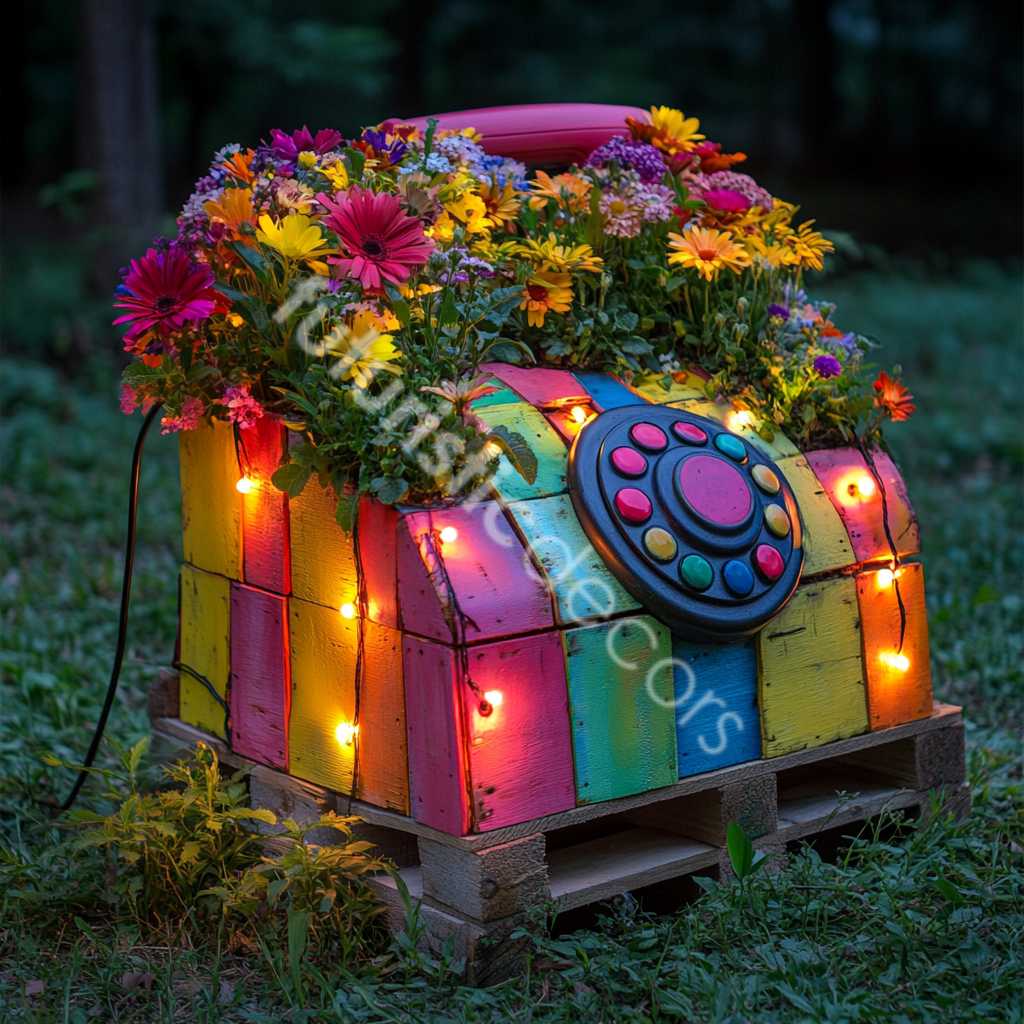
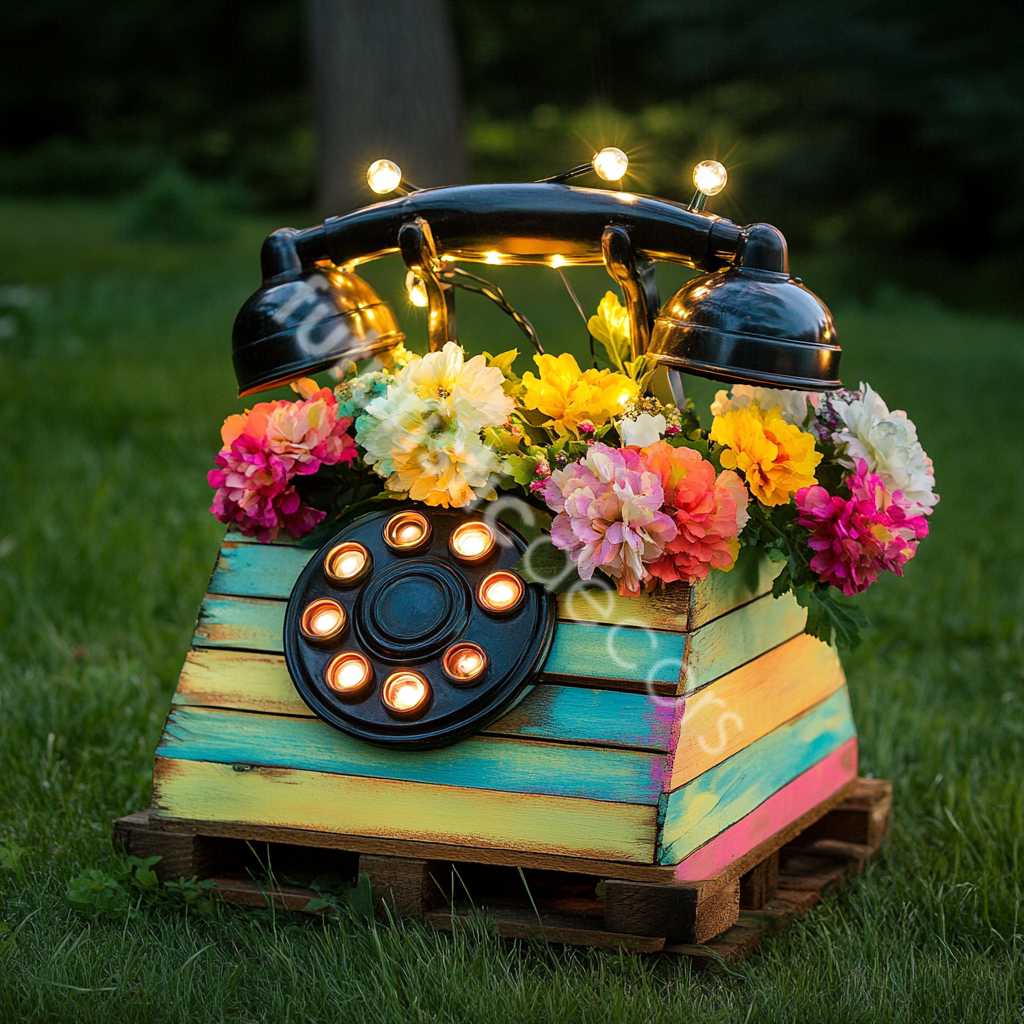
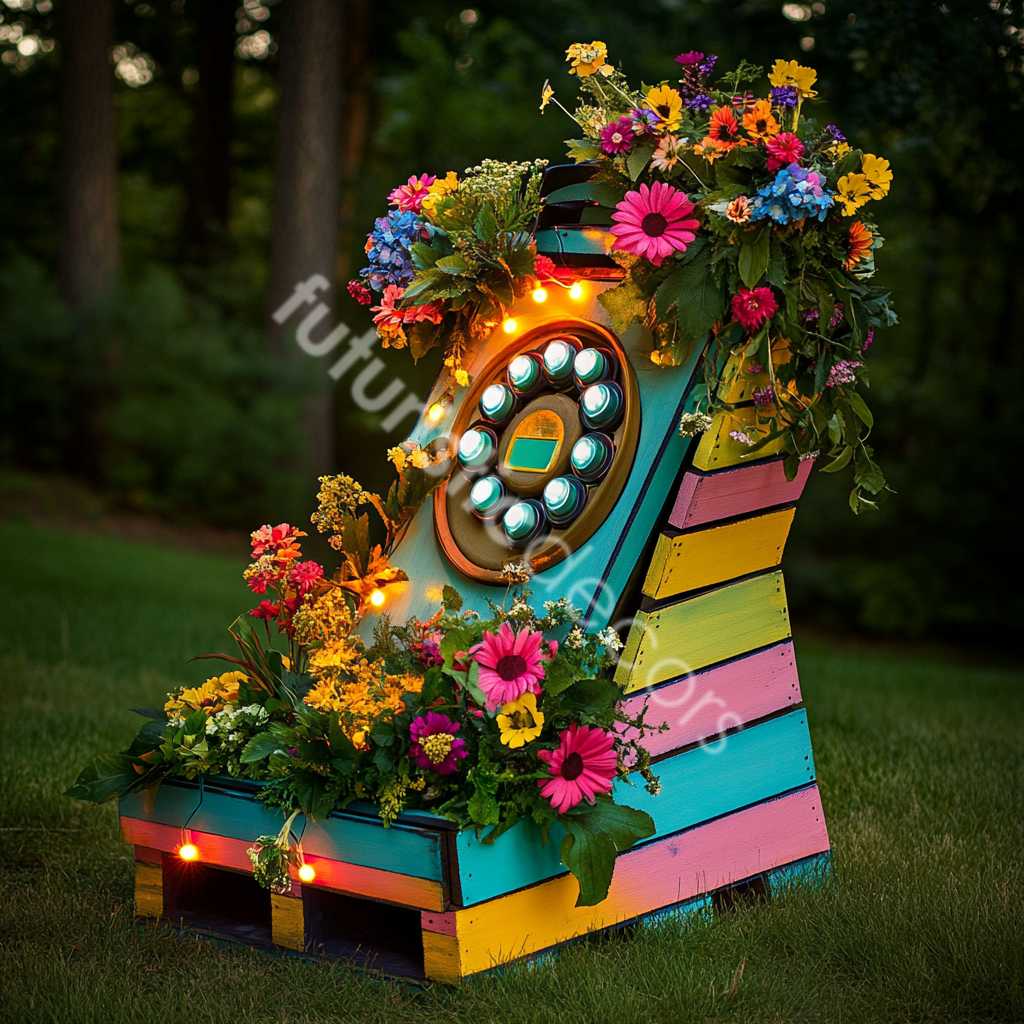
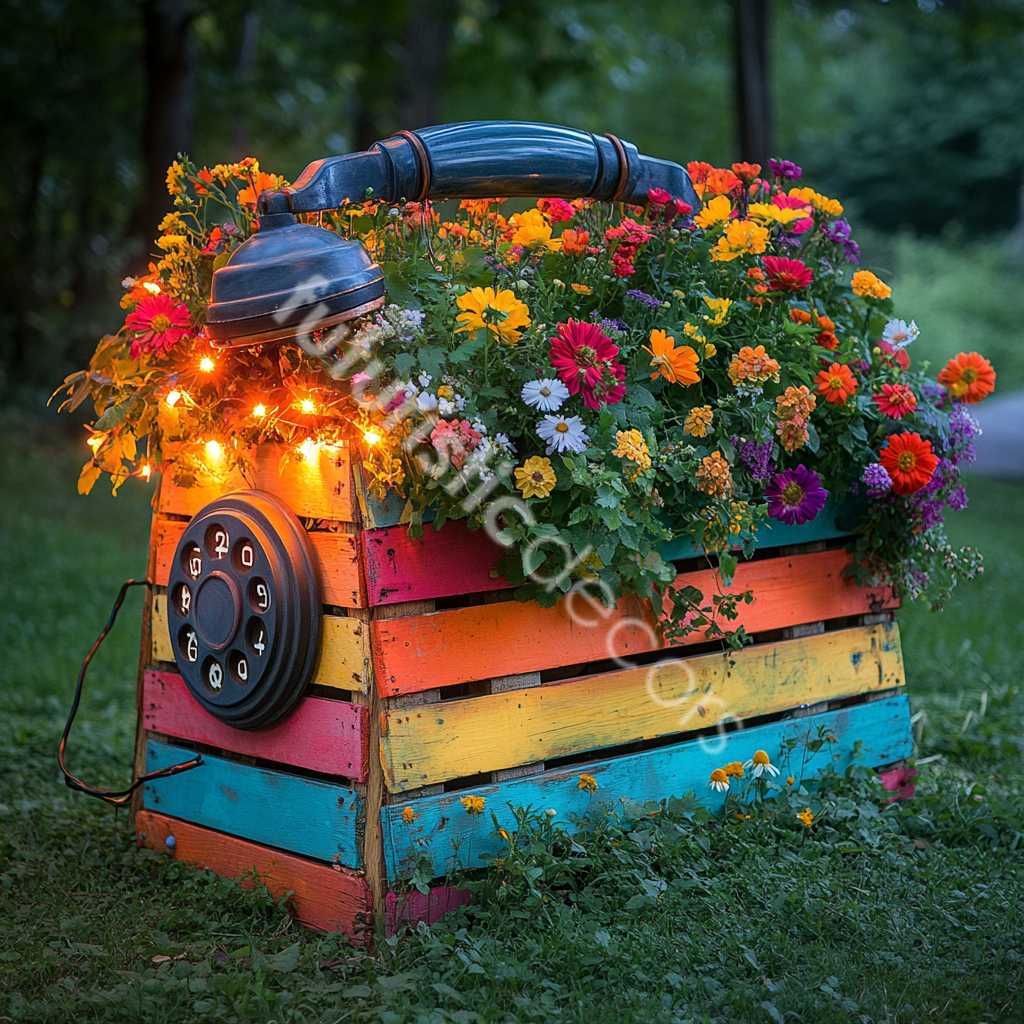
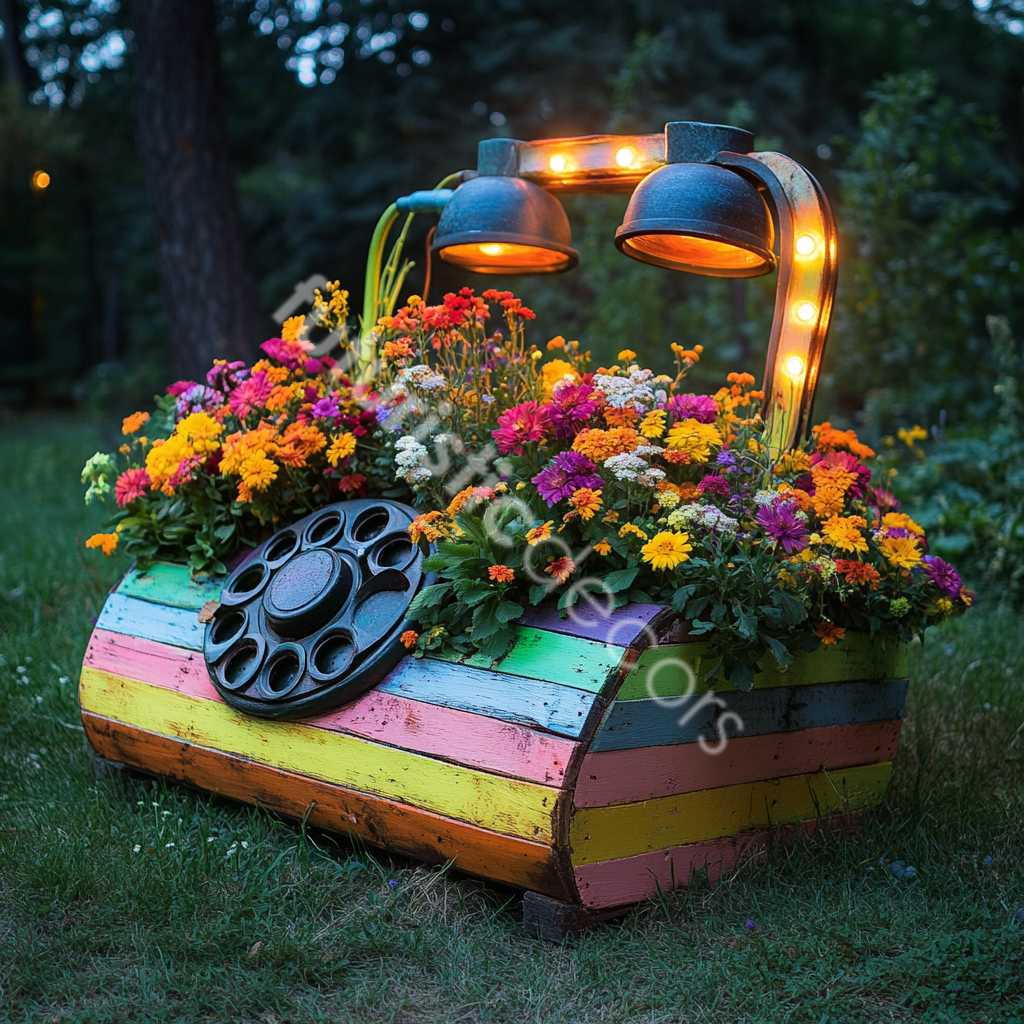
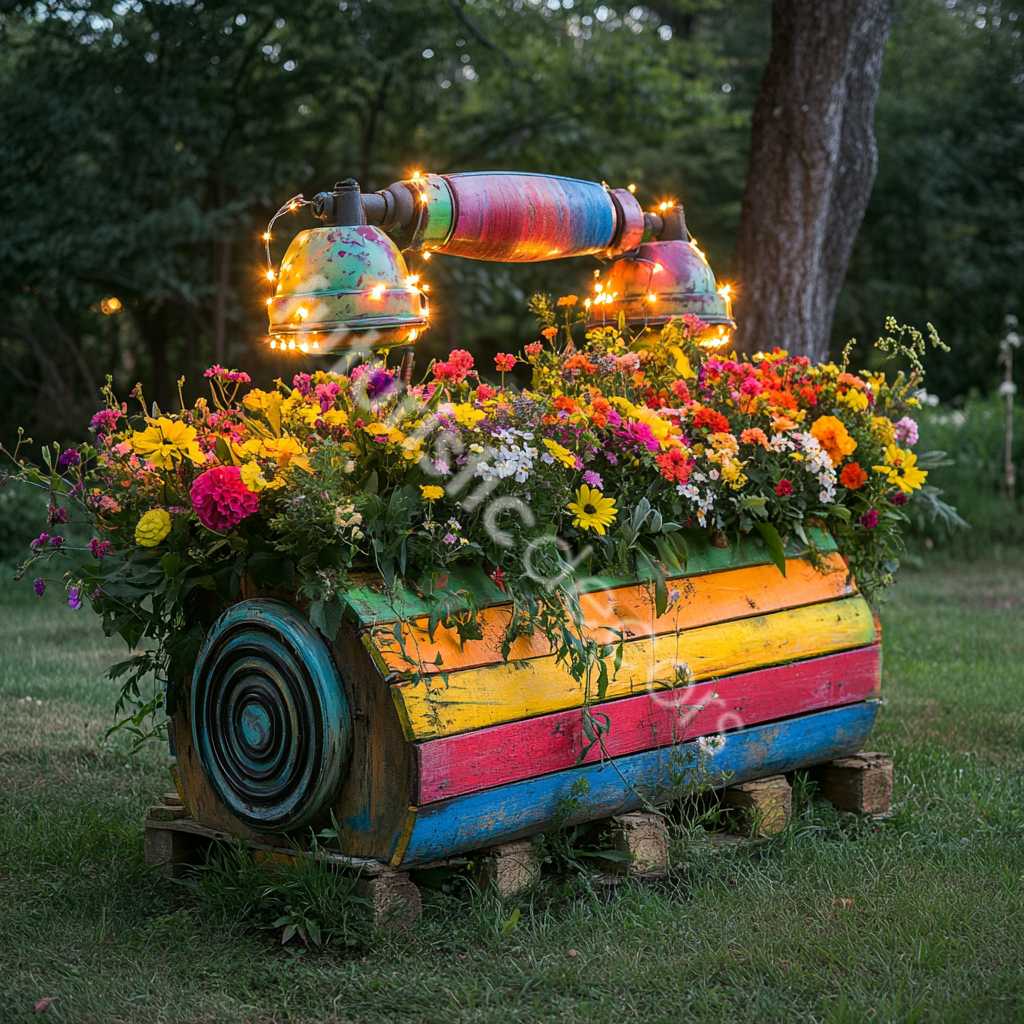
Up-cycling wooden pallets into garden features has become a hallmark of eco-friendly décor, but few builds command attention quite like a Telephone Shaped Pallet Planter. Blending retro charm with sustainable craftsmanship, this project turns discarded shipping pallets into a whimsical focal point that doubles as a vertical garden. In the pages that follow you’ll learn, step by detailed step, how to transform rough lumber into a vivid conversation starter that evokes the classic rotary telephone—receiver, dial, handset cradle, and all. Whether your style leans vintage, steampunk, or modern farmhouse, drainage science to mounting hardware, so you can craft a planter that rings in fresh greenery season after season.
Why Choose a Telephone Shaped Pallet Planter?
- Iconic silhouette, instant nostalgia – The familiar curves of an old-school telephone spark happy memories and storytelling, making your garden a social magnet.
- Vertical gardening superpower – The upright form maximizes surface area in a small footprint, perfect for balconies, patios, and tight urban yards.
- Sustainable to the core – Reclaiming pallets diverts timber from landfills. Each finished Telephone Shaped Pallet Planter locks away roughly 20 kg of carbon that would otherwise decompose.
- Budget friendly – Most builders complete the project for less than $40 USD in consumables, far cheaper than store-bought novelty planters.
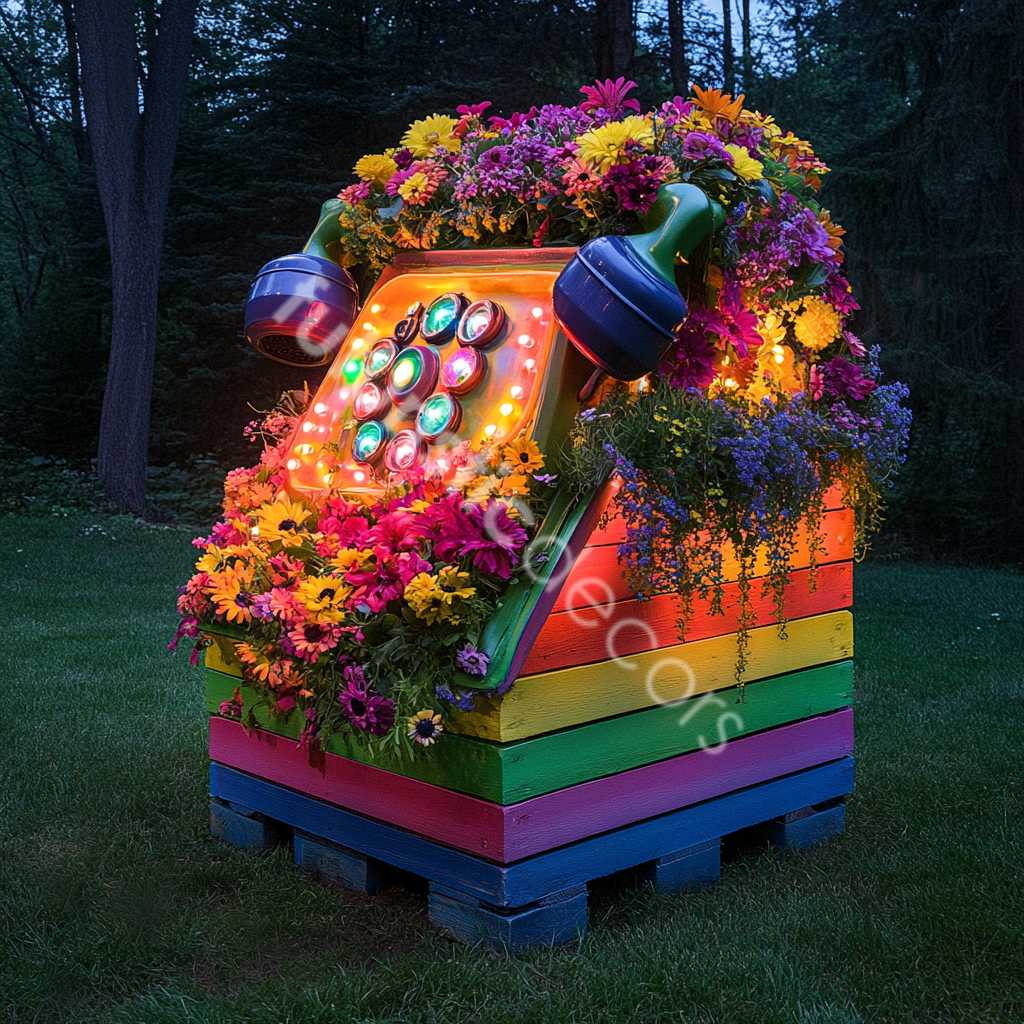
- Fully customizable – Paint it candy-apple red, add LED “dial” back-lighting, or stencil family names across the handset cradle—the framework adapts to countless themes.
Tools & Materials Checklist
Pro tip: Source heat-treated (HT-stamped) pallets only. Chemically treated pallets (MB stamp) should never be used in planter projects.
| Category | Items |
|---|---|
| Cutting & Shaping | Circular saw or jigsaw, hand saw, chisel set, coping saw (for curved receiver ends) |
| Fastening | 1 ⅝-inch exterior deck screws, 18-gauge brad nails, wood glue, L-brackets (4), 4 mm galvanized eye screws (for hanging receiver) |
| Layout & Measuring | Carpenter’s square, flexible curve, large compass, tape measure, chalk line |
| Finishing | Orbital sander (80 / 120 / 220 grit pads), tack cloths, exterior wood primer, outdoor acrylic paint, clear spar urethane |
| Gardening Components | Landscape fabric, pea gravel, organic potting mix, slow-release fertilizer pellets, ½-inch PVC or copper pipe (drain spout), seedlings or succulents |
| Safety Gear | Safety glasses, hearing protection, dust mask or respirator, work gloves |
Collect two standard 48 × 40-inch pallets for the main frame and one half-pallet for trim pieces. With lumber on hand, you’re ready to prepare the stock.
Step 1 – Dismantling and Preparing Pallet Boards
Loosen joints by tapping the deck boards from below with a rubber mallet.
Remove nails using a flat pry bar. To preserve length, rock each board gently instead of prying straight up.
Plane or sand the rough faces lightly at 80-grit to reveal grain and remove splinters.
Sort boards into three piles: straight long boards (for handset and side rails), medium boards (front/back face), and offcuts (dial, cradle blocks).
Spend extra time denailing; hidden metal will chew up saw blades later.
Step 2 – Designing the Telephone Template
Sketch a true-to-scale outline on kraft paper:
Overall dimensions: 36 in tall × 28 in wide × 5 in deep—large enough for a lush plant display but still light enough to wall-mount.
Receiver: A gentle 4 in radius curve at both ends; inner arc of 3 in for ergonomic authenticity.
Dial cut-out: 12 in diameter circle centered 10 in from the top edge. Mark ten 1¼-in finger holes equidistant on a 5 in radius.
Cradle blocks: Triangular wedges 3 in high, sloping at 15° to support the receiver.
Transfer the template to ¼-in plywood; later, you’ll trace it onto pallet slats for consistent contour cuts.
Step 3 – Cutting and Assembling the Telephone Frame
- Sides: Rip two pallet boards to 5 × 36 in. These become the vertical rails.
- Top & Bottom: Cut two boards to 28 in length for horizontal rails.
- Lap joints: Remove half the thickness at each corner joint to interlock rails flush; dry-fit, then glue and screw.
- Back slats: Nail 5 × 26 in boards across the frame interior to support planters and give the illusion of a solid telephone back.
- Dial bezel: Glue up three 3 × 14 in offcuts edge-to-edge. Trace the 12-in circle, jigsaw out, then drill finger holes using a 1¼-in spade bit.
Finally, sand edges to 120-grit for safe handling.
Step 4 – Crafting the Handset Receiver
The receiver defines the piece’s personality, so take care crafting graceful curves.
- Glue-laminate three 1 × 36 in pallet slats, offsetting grain direction for strength.
- Trace the handset curve from the template. Rough-cut with a jigsaw, staying ⅛ in outside the line.
- Refine shape with a spokeshave or rasp, then sand to 220-grit.
- Drill two pilot holes on the underside, 4 in from each end, for the eye screws that will later suspend the receiver above its cradle.
- Optional speaker detail: Rout shallow 1 in-diameter recesses at each end and inset perforated metal discs for audiovisual realism.
Step 5 – Building Integrated Planting Boxes
A great Telephone Shaped Pallet Planter hides functional planting cavities inside the mouthpiece and “dialer” shelf.
5.1 Box under the Dial
- Framework: Four ½ × 3 in strips form a 14 × 4 × 4 in drawer.
- Drainage: Drill four ¼-in holes; line with landscape fabric.
- Mount: Pocket-screw into rear slats below the dial opening, then reinforce with L-brackets.
5.2 Mouthpiece Succulent Tray
- Shape: Semi-circular trough 20 in long, 3 in deep, mimicking the mouthpiece bulge.
- Assembly: Kerf-cut backer board to bend; glue & nail curved front strip on.
- Receiver clearance: Leave a 1 in air gap so foliage can peek between handset and base for dramatic layering.
Fill both cavities with a ½-in layer of pea gravel before adding soil to prevent soggy roots.
Step 6 – Sanding, Priming, and Painting
- Final sanding: Progress through 150 and 220 grit. Wipe dust with tack cloth.
- Primer coat: Apply an exterior latex primer. It seals tannins in reclaimed wood.
- Color scheme: Classic choices include glossy fire-engine red, avocado green, or jet black. Spray-painting yields the smoothest “bakelite” look, but brushing with a quality enamel works too.
- Dial graphics: After the base coat dries, stencil numbers or vintage company logos on the bezel. A cream or off-white accent exaggerates the retro vibe.
- Handset contrast: Paint the receiver in a complementary hue or coat it with clear varnish to spotlight pallet grain.
Step 7 – Weatherproofing & Longevity Upgrades
Outdoor planters wage war against moisture and UV light. Seal yours thoroughly:
- Two coats of spar urethane on all surfaces, inside and out, allowing 24 h between coats.
- Edge drips: Hang the frame vertically during curing so excess varnish pools away from visible faces.
- Rubber feet or French cleats: Elevate the base ½ in off the ground/wall to prevent wicking.
- Optional roof: Fashion a ¼-in acrylic sheet awning over the handset to deflect rain while showing off internal LED uplighting.
With care, the sealed planter will thrive outdoors for 5–7 years before needing recoat.
Step 8 – Mounting or Free-Standing Installation
- Wall mount: Predrill two 5/16-in holes through the top rail. Lag-bolt into studs or masonry anchors.
- Freestanding: Screw a 2 × 4 in foot perpendicular to each side rail, creating an A-frame kickstand. Attach chain or leather straps from feet to frame for fold-flat storage.
- Receiver suspension: Screw eye bolts into cradle blocks and handset underside, then link with 4-in decorative chains so the receiver hovers 2 in above the dial—perfect space for trailing vines.
Step 9 – Planting Your Telephone Shaped Pallet Planter
Vertical planters benefit from drought-tolerant species with shallow root systems.
| Zone | Sun Level | Suggested Plants |
|---|---|---|
| 3-7 | Full sun | Sedum spurium, creeping thyme, miniature daylilies |
| 8-10 | Partial | String-of-pearls, echeveria, trailing rosemary |
| All | Shade | Small ferns, variegated ivy, peperomia |
- Soil mix: 60 % compost, 30 % coconut coir, 10 % perlite.
- Fertilizer: Mix a handful of slow-release pellets into each cavity.
- Watering: Insert a length of ½-in perforated pipe down the frame’s back so you can top-water once and distribute evenly.
Within six weeks, roots will knit the soil together; after that, the planter can be tilted upright without spillage.
Step 10 – Ongoing Maintenance
- Weekly check: Test soil moisture two inches deep. Overwatering is the chief killer of pallet planters.
- Seasonal refresh: Trim spent blossoms and top-dress with compost every spring.
- Winterization: In freezing climates, detach the planter and move it to a garage. Alternatively, switch to cold-hardy pansies and ornamental kale.
- Touch-up paint: Spot-prime scratches immediately to prevent moisture creep under the finish.
Your Telephone Shaped Pallet Planter will look newer for longer, and the receiver’s dangling charm will continue to delight passers-by.
Links to purchase similar products: Click here
Time & Cost Breakdown (Approximate, USD)
| Item | Cost | Time |
|---|---|---|
| Salvaged pallets (3) | $0–$15 | — |
| Hardware & screws | $6 | 30 min |
| Primer, paint, urethane | $12 | 2 h (drying 48 h) |
| Plants & soil | $15 | 1 h |
| Misc. (sandpaper, stencils) | $5 | 30 min |
| Total | $38–$53 | 6 h active, 2 days elapsed |
Even with premium finishes, the project stays well under the price of a store-bought novelty planter, which can exceed $150.
Environmental Impact & Community Value
Constructing a Telephone Shaped Pallet Planter tells a sustainable story:
- Waste diversion: Each build repurposes roughly 15 bd ft of lumber otherwise destined for landfill or chipping.
- Pollinator support: By planting nectar-rich blooms, your phone becomes an insect hotline, sustaining bees and butterflies.
- Educational showcase: Host a weekend workshop and teach neighbors pallet safety, basic carpentry, and plant care—multiplying eco benefits across your community.
Creative Variations: Telephone Shaped Pallet Planter
- Corded planter chain – Snake a ¾-in black PVC “phone cord” from handset to base, dotted with terracotta thimble pots.
- LED rotary dial – Drill the finger holes all the way through and press in waterproof fairy lights for an after-dark glow.
- Chalkboard side panel – Replace one back slat with chalkboard paint so you can jot the week’s herb harvest schedule.
- Mint-green push-button model – Skip the rotary dial, replace with a rectangular herb tray sporting laser-cut acrylic “buttons.”
- Gothic noir finish – Stain the wood ebony, add silver skull-shaped knob feet, and fill with blood-red coleus. Standout accents fit any décor niche.
Common Mistakes to Avoid
Using chemically treated pallets – Look for the “HT” stamp to ensure food-safe wood.
Ignoring drainage – A pallet planter without gravel and fabric quickly succumbs to root rot.
Under-sealing edges – End grain absorbs water first; soak ends thoroughly with urethane.
Skimping on fasteners – Over time, wood swells and contracts; snug screws prevent rattle and sag.
Conclusion: “Telephone Shaped Pallet Planter”
From salvaging humble shipping pallets to spraying the last coat of color, crafting a Telephone Shaped Pallet Planter is an exercise in creativity, sustainability, and hands-on joy. The finished piece marries mid-century telephonic curves with vibrant living greens, creating a striking vertical garden that speaks volumes about your eco-conscious style. By following this guide—selecting safe pallets, cutting precise templates, weatherproofing diligently, and selecting the right plants—you’ll produce a planter that not only survives the seasons but becomes a perennial showpiece. Future visitors won’t be able to resist “dialing” up compliments every time they see your garden’s newest conversation piece ringing off the hook with color.
FAQs
Q1: How heavy is a finished Telephone Shaped Pallet Planter?
A: Once painted, planted, and sealed, expect 28–34 lb (13–15 kg). Use two lag bolts rated for 50 lb each for wall installations.
Q2: Can I substitute softwood pallets with hardwood ones?
Yes, hardwood pallets (often oak) add durability but are tougher to saw. Use carbide-tipped blades and pre-drill screw holes to prevent splitting.
Q3: Which paint sheen works best outdoors?
Semi-gloss or high-gloss exterior acrylic emulates vintage phone plastic while shedding rain better than matte finishes.
Q4: How do I keep soil from leaking out the dial holes?
Hot-glue landscape fabric circles behind each finger hole before filling the cavity; they disappear once foliage grows.
Q5: Is it safe to grow edible herbs in pallet wood?
As long as the pallets are heat-treated and you use food-safe finishes (avoid creosote, copper naphthenate), herbs like basil and thyme thrive safely.
Q6: What if my pallet boards are warped?
Clamp them flat while glue-laminating. Slight curvature adds charm, but severe bowing should be planed or replaced.
Q7: How often should I re-seal the wood?
Plan on a fresh urethane coat every two years; coastal or high-rainfall areas may require annual touch-ups.
Craft, plant, and enjoy—the garden is calling, and your DIY Telephone Shaped Pallet Planter is ready to answer!


