
The concept behind the Kids Coffin Wagon is to create a unique and fun play structure that combines the playful nature of a wagon with a creative twist on design. Designed specifically for children, this project transforms conventional wagon building into a memorable DIY experience. While the name “coffin” may evoke more somber imagery, in this context it is a playful reference to the wagon’s shape and design, emphasizing a modern, edgy aesthetic with a twist of whimsy.
Building your own Kids Coffin Wagon not only provides a sense of accomplishment but also offers an engaging project that you and your child can enjoy together. In today’s fast-paced world, taking the time to handcraft something special fosters quality moments with your family. This article provides detailed instructions, tips, and insights into building a sturdy and safe wagon that your child will cherish for years to come.
Planning Your Kids Coffin Wagon
Before diving into construction, careful planning is essential. Here are several key planning considerations:
Define Your Vision
Start by visualizing your ideal Kids Coffin Wagon. Consider:
- Size and Capacity: How many children should it accommodate? A single child or a few siblings and friends?
- Aesthetic: Do you envision a sleek modern design, a rustic handcrafted look, or perhaps something more colorful and whimsical?
- Functionality: Will the wagon be used just for play, or do you plan on adding features like storage for toys or a foldable seat for parents?
Safety First
Since the wagon is intended for children:
- Stable Construction: Ensure that the design minimizes the risk of tipping over.
- Smooth Edges: All components should be sanded to prevent splinters and sharp edges.
- Weight Limits: Consider the materials used to ensure the wagon can safely carry the intended weight.
Budget and Timeline
Planning your budget early on helps you source the right materials without overspending. Additionally, set aside ample time for each phase of the project. Typically, a project of this scale can be completed over several weekends or as a dedicated week-long project.
Sketching and Design
Creating a detailed sketch of your Kids Coffin Wagon helps you visualize the final product and organize the construction process. Include dimensions, component parts, and any decorative elements you plan to add. This blueprint will serve as your guide throughout the build.
Materials and Tools
For a project as detailed as this, the choice of materials and tools is paramount to achieving a high-quality, safe, and durable wagon. Here is a comprehensive list of what you’ll need:
Materials
- Wooden Planks and Plywood: Choose durable, high-quality wood that can withstand outdoor play. Plywood works great for the wagon’s floor and side panels.
- Wheels and Axles: A set of four sturdy wheels and a robust axle ensure smooth movement. Consider using wheels with rubber treads for better grip.
- Metal Brackets and Screws: To reinforce the frame and join components securely.
- Paint and Primer: Select child-safe, non-toxic paints in colors that match your design vision. Primer is important for a smooth finish and longevity.
- Cushioning Materials: Foam or soft padding for added comfort inside the wagon.
- Decorative Elements: Optional items like decals, fabric, or additional wood carvings to enhance the overall look.
- Varnish or Sealant: A protective finish to safeguard the wood from weathering.
Tools
- Measuring Tape and Ruler: For precise measurements during cutting and assembly.
- Saw (Hand Saw or Circular Saw): To cut wood components to size.
- Drill and Drill Bits: For pre-drilling holes and securing screws.
- Sander or Sandpaper: Essential for smoothing rough edges and surfaces.
- Paintbrushes and Rollers: For applying primer, paint, and sealants evenly.
- Screwdriver Set: Both manual and power options can speed up assembly.
- Safety Gear: Gloves, safety goggles, and a dust mask to ensure safety while working.
Having these materials and tools ready ensures that the process is smooth and reduces interruptions during the building phase.
Design Considerations
Creating a unique Kids Coffin Wagon means balancing creativity with functionality. Here are some design considerations to think about:
The Coffin Aesthetic
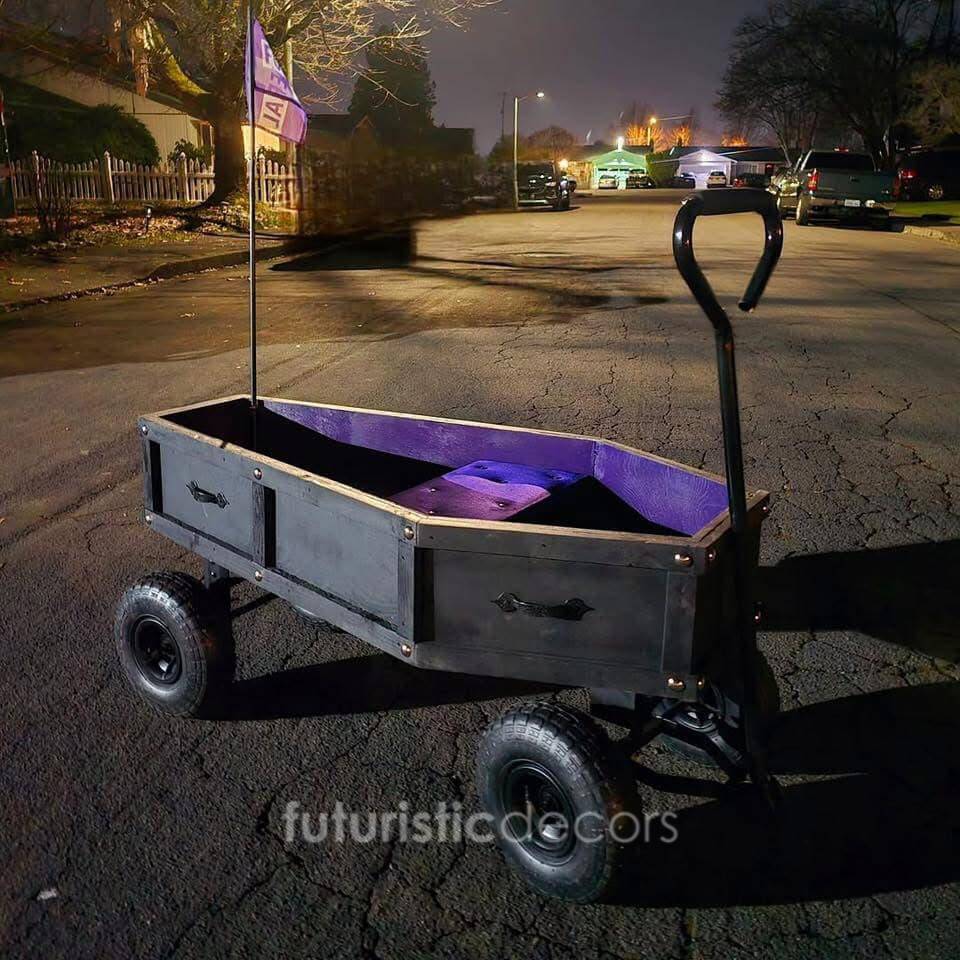
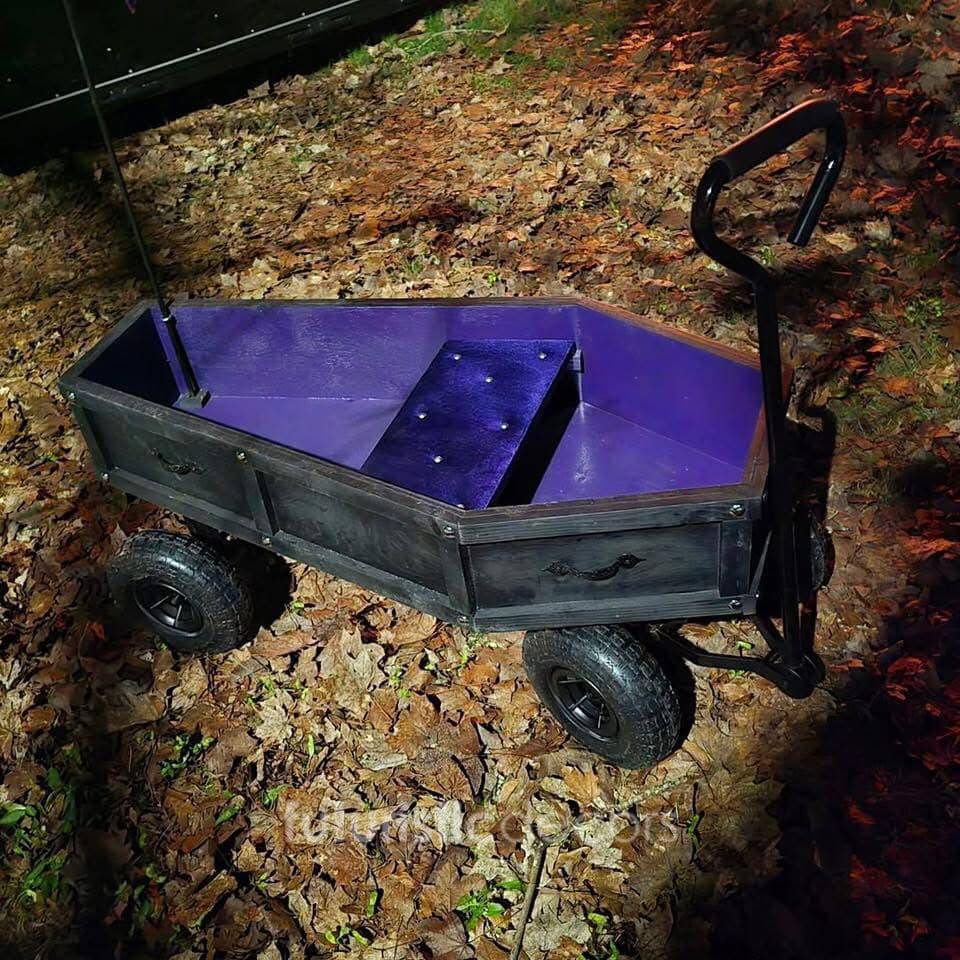
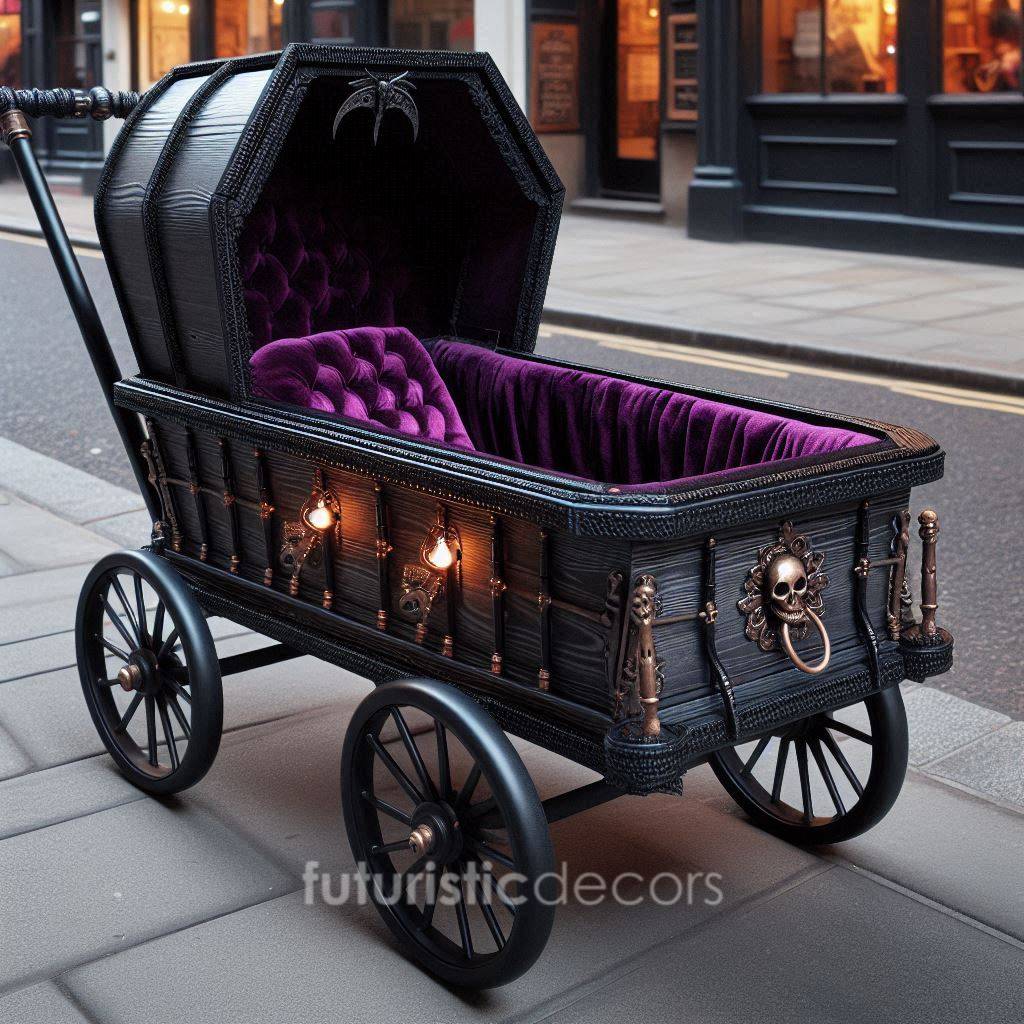
The term “coffin” in the title is used metaphorically. It is inspired by the sleek, elongated shape of a traditional wooden coffin, but repurposed for playful design. Key design features might include:
- Elongated Shape: A long, narrow design that offers a striking visual appeal.
- Distinctive Lid Design: A removable or hinged lid that can be safely used for extra storage or decoration.
- Bold Lines and Angles: Emphasizing geometric shapes that give the wagon a modern, edgy look.
Child-Friendly Elements
Incorporate features that enhance safety and engagement:
- Low Entry Point: Ensure the wagon is easy for children to enter and exit.
- Bright Colors: Use vibrant, cheerful colors to make the wagon visually appealing.
- Comfortable Seating: Adding cushions or a small bench inside can improve comfort during playtime.
- Interactive Features: Consider adding compartments for storing toys, or even a small steering mechanism to give the child a sense of control.
Durability and Weather Resistance
Since the Kids Coffin Wagon is designed for outdoor play:
- Weatherproofing: Use a high-quality sealant to protect against rain, sun, and wind.
- Reinforced Joints: Double-check all joints and connections for stability.
- Maintenance Accessibility: Ensure that the design allows for easy cleaning and occasional repairs.
Step-by-Step Building Process
Below is a detailed step-by-step guide on how to build your Kids Coffin Wagon. Each phase is broken down into actionable steps with detailed explanations.
Step 1: Designing and Measuring
The first step in your build process is thorough planning and measurement.
- Create a Blueprint: Begin by drawing a detailed plan of your wagon. Sketch the overall shape, noting dimensions for the floor, sides, and any additional components. For a typical Kids Coffin Wagon, you might consider dimensions that are approximately 4 feet long, 2 feet wide, and 1.5 feet high.
- Determine Wheel Placement: Mark the locations where the wheels will be attached. Ensure that the axle is centered to maintain balance.
- Mark Cutting Lines: On your wooden planks and plywood, mark the lines for cutting. Precision at this stage is critical, as accurate measurements will result in a stable structure.
By planning your measurements carefully, you create a roadmap that minimizes mistakes during the cutting phase.
Step 2: Cutting the Components
With your blueprint and measurements ready, the next step is cutting your wood components to size.
- Cut the Base: Using your circular saw or hand saw, cut the plywood to form the base of the wagon. Ensure the edges are smooth and straight.
- Prepare Side Panels: Cut the wooden planks to form the sides of the wagon. The side panels may include curved or angled sections to echo the coffin aesthetic.
- Shape the Front and Rear Ends: Depending on your design, you may wish to create curved fronts or angled ends. Use a jigsaw for intricate curves.
- Sand All Pieces: Once cut, thoroughly sand every piece. This step is crucial for safety, as it eliminates rough edges and potential splinters.
Take your time during this phase to ensure precision, as these pieces form the foundation of your Kids Coffin Wagon.
Step 3: Assembling the Frame
Now that all pieces are cut to size, it’s time to start assembling the frame.
- Construct the Base Frame: Start by joining the base and side panels together. Use metal brackets and wood screws to secure the joints. Pre-drilling holes can prevent the wood from splitting.
- Reinforce the Corners: For added stability, reinforce each corner of the wagon frame with extra screws or brackets.
- Install the Axle Supports: Attach supports for the axle at the predetermined points. Ensure that these supports are level and securely fastened.
- Wheel Installation: With the frame in place, attach the wheels to the axle. Ensure that the wheels spin freely and the wagon sits level.
This stage requires patience and attention to detail. A well-assembled frame is crucial for the durability and safety of the final product.
Step 4: Building the Wagon Body
Once the frame is constructed, it’s time to build the body of the Kids Coffin Wagon.
- Attach the Floor: Secure the plywood base to the frame using screws and brackets. Ensure that it is flush with the side panels.
- Construct the Walls: Attach the side panels to the floor. Reinforce the panels at the joints with additional screws and brackets.
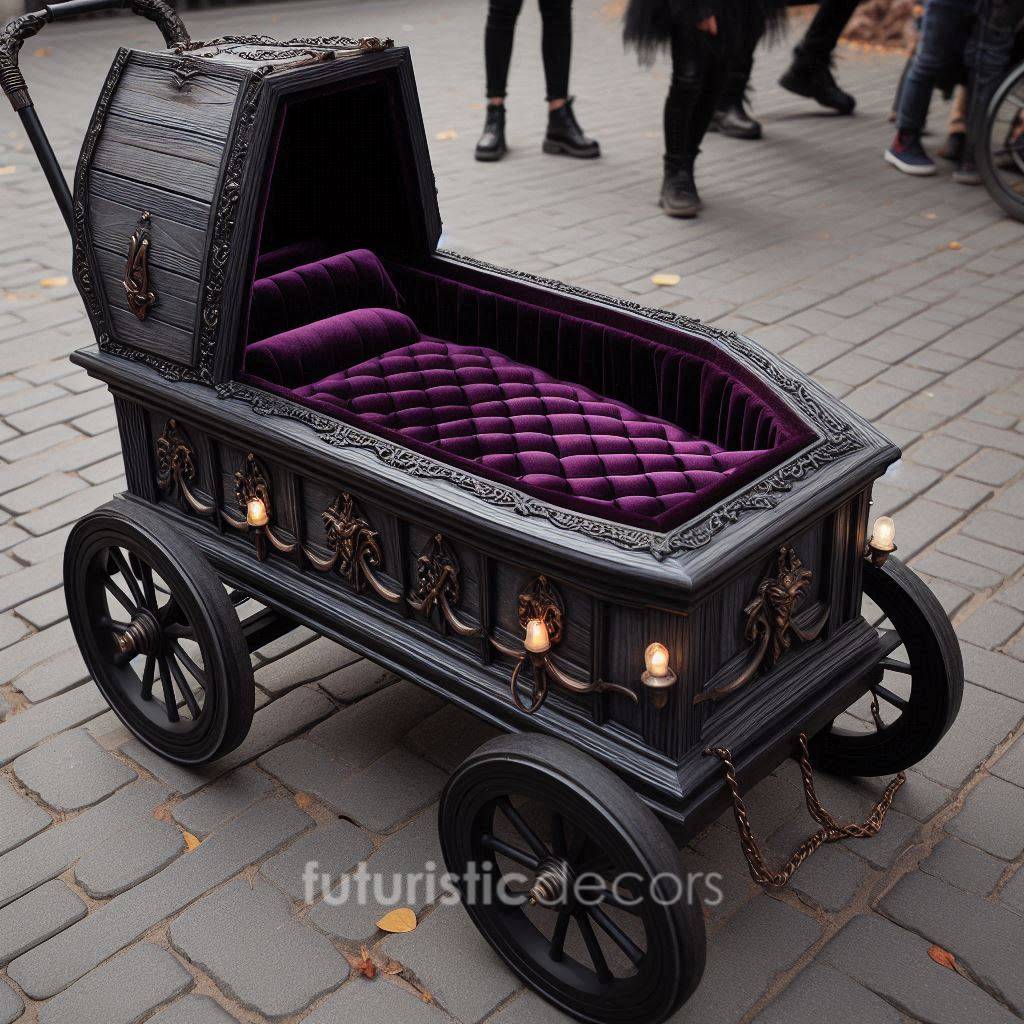
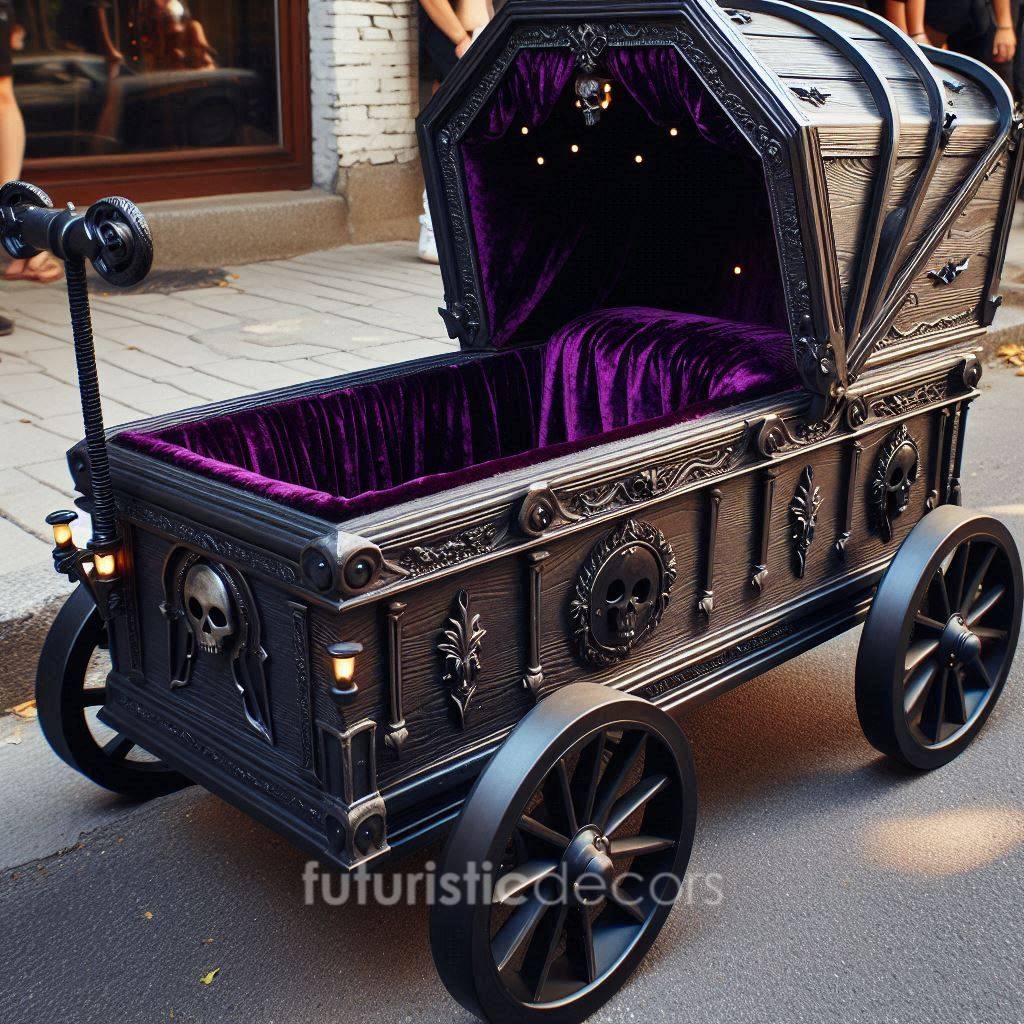
- Install the Lid (Optional): If your design includes a lid or cover, construct it separately and then attach it with hinges. This lid can serve both a decorative and functional purpose, such as storing small toys or cushions.
- Interior Padding: For added comfort, consider attaching a layer of foam or soft padding on the interior base. Cover the padding with a durable, child-safe fabric.
The assembly of the wagon body transforms the structure from a simple frame into a fully functional play vehicle.
Step 5: Painting and Decoration
The final step in the building process is adding color, style, and personal touches to your Kids Coffin Wagon.
- Priming the Wood: Apply a non-toxic primer to all wooden surfaces. This step ensures a smooth and even application of paint.
- Choosing the Color Palette: Select colors that resonate with your design vision. For a coffin-inspired design, you might opt for a mix of matte black, deep red, or even bold neon accents for a modern twist.
- Painting: Use brushes or rollers to apply your chosen colors. Consider adding patterns or designs that mimic decorative carvings or geometric shapes.
- Adding Decorative Elements: Enhance the wagon’s look by attaching decals, stencils, or custom wood carvings. You could incorporate playful motifs such as stars, lightning bolts, or custom lettering that spells out “Kids Coffin Wagon.”
- Sealing the Finish: Once the paint is completely dry, apply a coat of sealant or varnish. This protective layer helps preserve the paint and wood from outdoor elements, ensuring longevity.
With the finishing touches complete, your Kids Coffin Wagon is not only a functional play vehicle but also a work of art that reflects your creativity.
Safety and Finishing Touches
Creating a safe and durable wagon is paramount, especially when the intended users are children. Here are some essential tips for safety and final adjustments:
Structural Integrity
- Double-Check All Joints: Make sure every joint, screw, and bracket is secure. Loose parts can pose a hazard during play.
- Test Stability: Before allowing children to use the wagon, test its stability by gently pushing and tilting it. Ensure it doesn’t tip over or wobble.
- Weight Distribution: Ensure that the weight is evenly distributed across the wagon. An unbalanced design might make it difficult to maneuver and could increase the risk of accidents.
Edge Finishing
- Smooth All Edges: Revisit all wooden edges with sandpaper, ensuring there are no sharp corners or splinters.
- Rounded Corners: Where possible, round off corners to further enhance safety. This is particularly important for areas where children might frequently come into contact with the wagon’s surfaces.
Maintenance and Regular Inspections
- Scheduled Checks: Establish a regular maintenance schedule to inspect the wagon for wear and tear. Check the wheels, joints, and paint finish periodically.
- Weatherproofing Touch-Ups: Over time, the protective sealant may wear off. Plan to reapply the sealant every year to maintain the wagon’s durability against the elements.
- Clean Regularly: Keep the wagon clean by wiping down surfaces with a damp cloth and mild soap. Avoid harsh chemicals that could damage the finish or harm children.
Enhancing the Play Experience
- Comfort Accessories: Add removable cushions or a small, adjustable canopy for sun protection. These accessories enhance both the aesthetic appeal and the functionality of the wagon.
- Personalization: Consider engaging your child in the decoration process. Allow them to choose colors or even paint certain sections. This personal touch will make the wagon even more special.
- Interactive Features: For an extra element of fun, integrate a small storage compartment for toys or outdoor accessories. This makes the Kids Coffin Wagon not just a ride but a mobile play space.
Maintenance and Troubleshooting
Even a well-built Kids Coffin Wagon will benefit from ongoing maintenance and occasional troubleshooting. Here are some guidelines to keep your wagon in top condition:
Regular Maintenance
- Inspect for Loose Parts: Regularly check screws, brackets, and wheel fittings. Tighten any loose components to maintain structural integrity.
- Clean Surfaces: Use a damp cloth to remove dirt and debris. For tougher stains, a mild, non-toxic cleaner is recommended.
- Check the Wheels: Examine the wheels for signs of wear or damage. Replace any worn-out wheels to ensure safe operation.
- Reapply Sealant: Over time, exposure to weather can cause the protective sealant to deteriorate. Plan to reapply the sealant at least once a year to protect the wood.
Troubleshooting Common Issues
- Wobbling or Unstable Frame: If the wagon wobbles, revisit the assembly instructions. Ensure that all joints are reinforced and that the wheels are properly aligned. Adding extra brackets to key joints can provide additional stability.
- Paint Chipping: If the paint begins to chip, lightly sand the affected area, reapply primer, and then a new coat of paint. This will prevent moisture from seeping into the wood.
- Wheel Malfunctions: If a wheel is not turning smoothly, check for debris or damage in the wheel mechanism. Clean or replace the wheel as needed.
- Loose Axle: A loose axle can compromise the stability of the wagon. Make sure that the axle supports are secure and that the axle itself is firmly attached to the wheels.
Taking these steps will ensure that your Kids Coffin Wagon remains a safe and durable playtime companion for years to come.
Conclusion
Building a Kids Coffin Wagon is a fantastic DIY project that combines creativity, craftsmanship, and fun. This step-by-step guide has covered every aspect of the build—from planning and material selection to the final decorative touches—ensuring that even beginners can successfully create a custom wagon that is both functional and stylish.
By following the detailed instructions provided, you not only create a unique play vehicle that stands out but also engage in a meaningful activity that can bring family members together. The project teaches practical skills, reinforces the importance of planning and safety, and ultimately results in a play structure that inspires imaginative adventures.
Remember that the true beauty of a DIY project lies in its personal touches. Feel free to adapt this guide to suit your child’s preferences, incorporate unique design elements, and even extend the project with additional features. Whether you choose to add interactive compartments, customize the paint scheme, or integrate other creative ideas, the Kids Coffin Wagon becomes a canvas for your family’s creativity.
As you embark on this project, keep in mind that each step is an opportunity to learn, experiment, and bond with your child. From measuring and cutting to assembling and painting, every phase contributes to a sense of accomplishment and pride. And once your wagon is complete, the joy on your child’s face as they embark on countless adventures will make every minute of work worthwhile.
In the spirit of DIY, let your imagination lead the way. Safety, creativity, and fun are the cornerstones of this project. The Kids Coffin Wagon is more than just a toy—it’s a testament to what can be achieved with a bit of vision, careful planning, and a lot of heart. Enjoy the process, share the experience with your loved ones, and most importantly, have fun building something extraordinary that will create lasting memories for you and your child.


